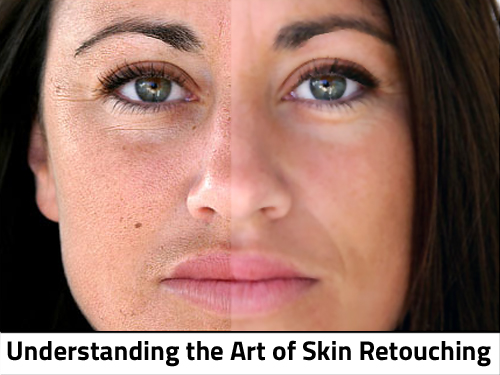
Photo Skin Retouching Basic
Modern technology has advanced the quality of life in many fields among them photography. Digital photography is very precise and accurate in that. It shows details in their naked forms hence exposing some unwanted elements rather. Image retouching is a technique that will help you solve this issue in the most efficient way possible. You can learn and practice photo retouching so as to remove those undesirable elements from your photo and get the most amazing image quality.
Photoshop Tutorial: How to Photo Skin Retouching
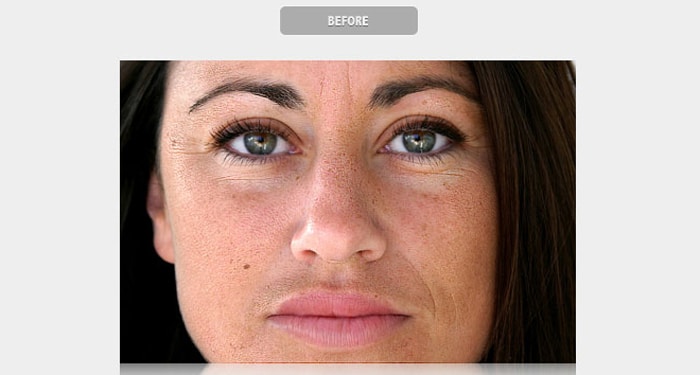
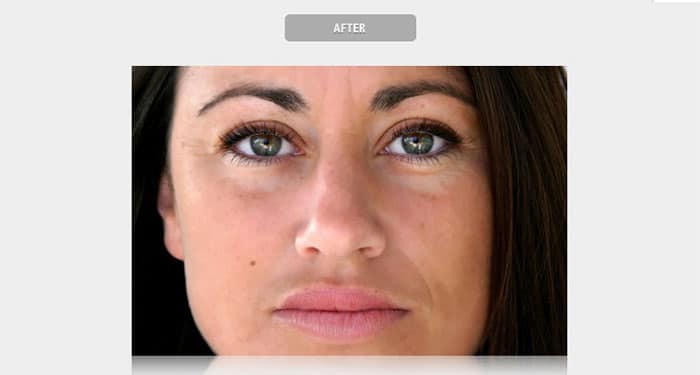
You will learn how to do a photo touch-up by removing all blemishes shown in this photo to end up with a smooth and spotless face.
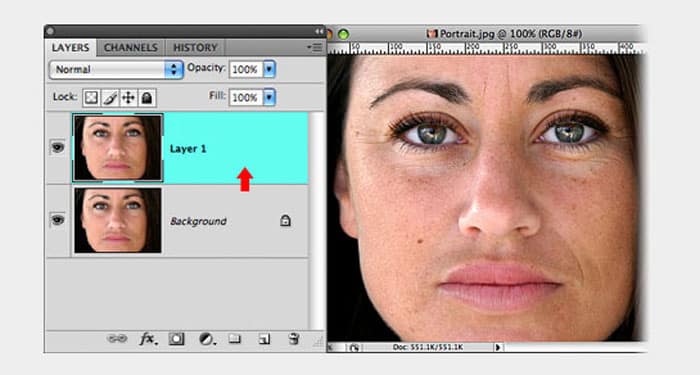
The first step involves opening the photo. Then make a copy of its background layer by clicking Ctrl + J. then reduce the brightness by applying a blur filter (Filter>Blur>Surface Blur). The threshold slider here is essential in eliminating the halo effect caused when applying blur and allows blurring of surfaces inside the edges of an image. Still leave the edges perfectly sharp. Secondly, set the radius so as to get the ideal filter effect on all pixels within the edges of the image. as well as ensures you get desired smoothness.
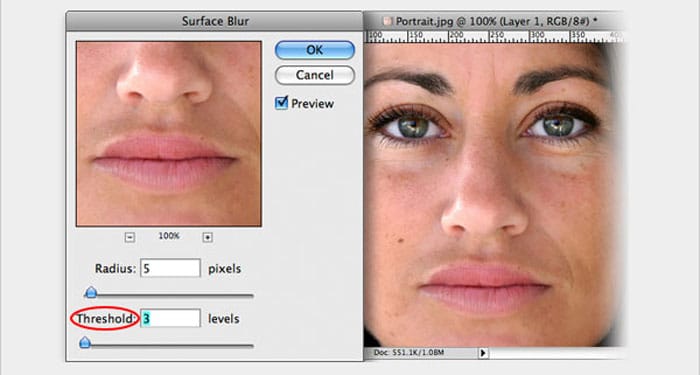
In the third step, you will adjust and slide the threshold up until you see the halos showing up on the face. You should be careful not to decrease the threshold too much as the finer details might just get exposed again.
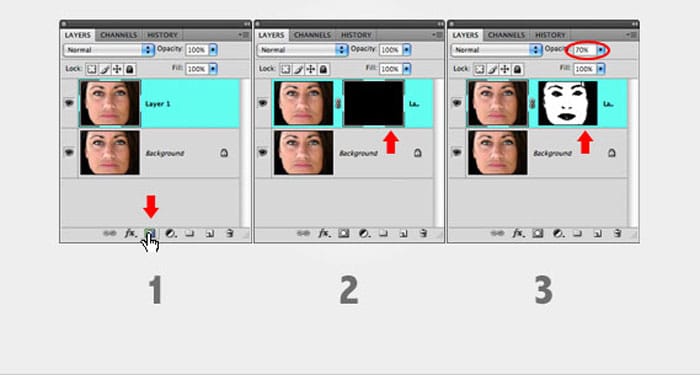
Create a layer mask that only brings out certain surface blur areas by holding down the option key and selecting Add layer mask icon. Paint out the black-filled layer to expose the blur effect. Pick the soft-edge brush to and set the opacity to 60-80% and paint avoiding high detail areas.

Since the surface blur may miss some blemishes, hold down comd+opt+shift. Press E to clone details of the photo into a new layer. Next, filter>noise>dust and scratches to clear minor irregularities. then set your threshold to zero and increase the radius.
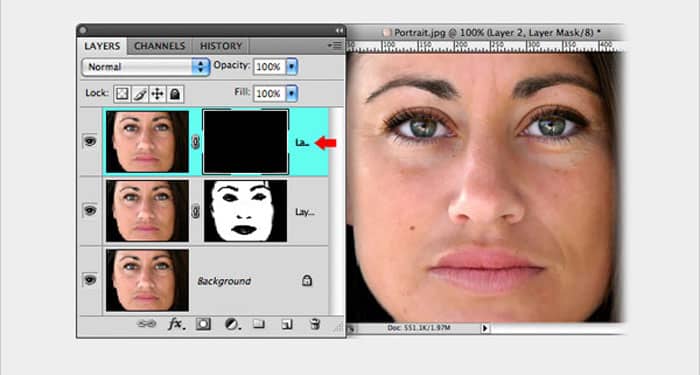
You can then return the skin texture through the threshold slider then hold the down option. Click Add layer mask icon after applying the dust and scratches.
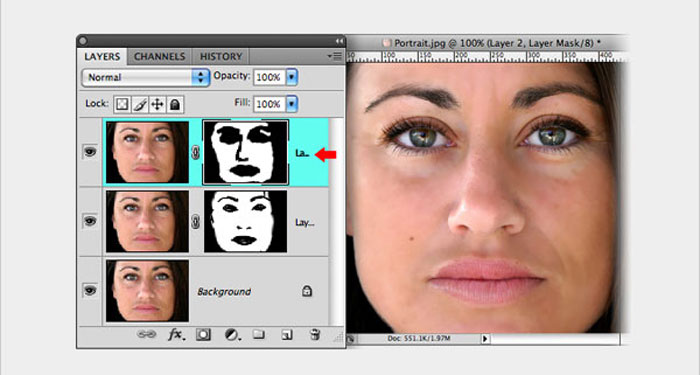
Pick a brush and a white color output, zoom to 200%. Paint the layer mask areas with blemishes but in a realistic manner. It is how the image looked before as well as the results after.