
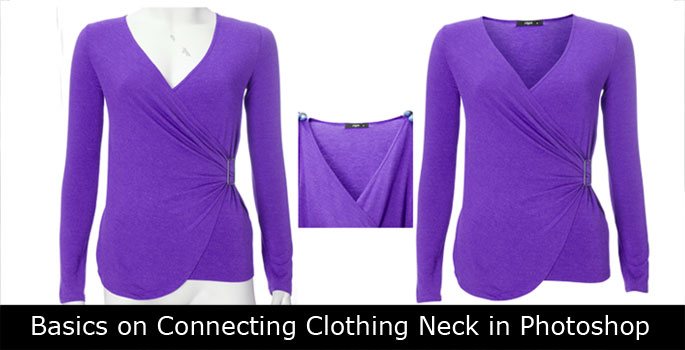
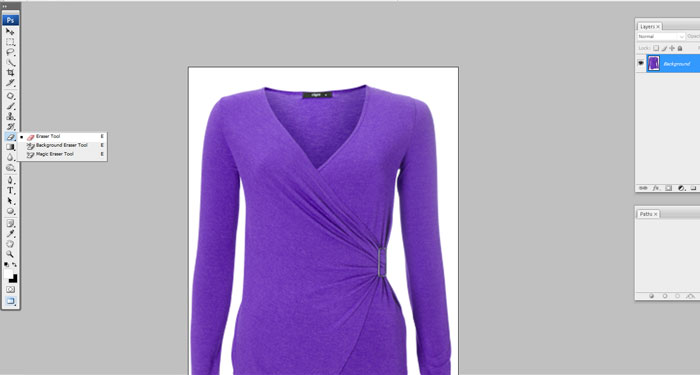
Neck Joint /Ghost Mannequin in Photoshop
When selling your clothing products online. Then it’s more interesting when you post their photos without the mannequins as you use them in your shops and boutiques. However, this may be quite challenging as the clothing will look much better when worn by models or mannequins. You should not worry about this anymore as the Ghost mannequin. This tutorial will help you learn how to remove the mannequin from the image. Also, You can easily join the neck of the cloth. Using this jacket to achieve this,
How to Joint / rebuild the Clothes Neck
Remove the Neck part from the cloth image
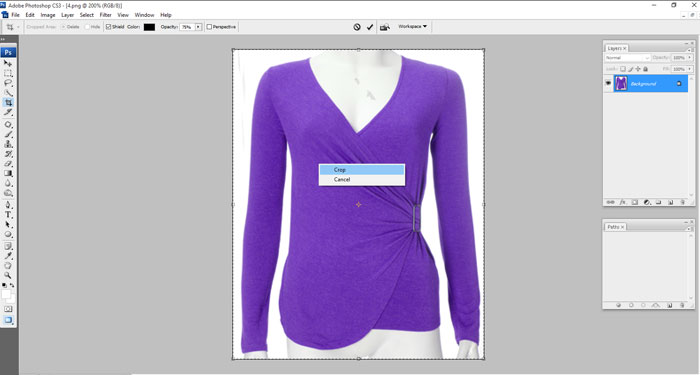
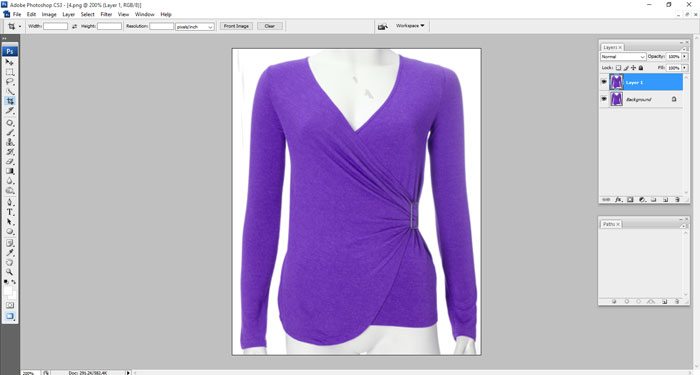
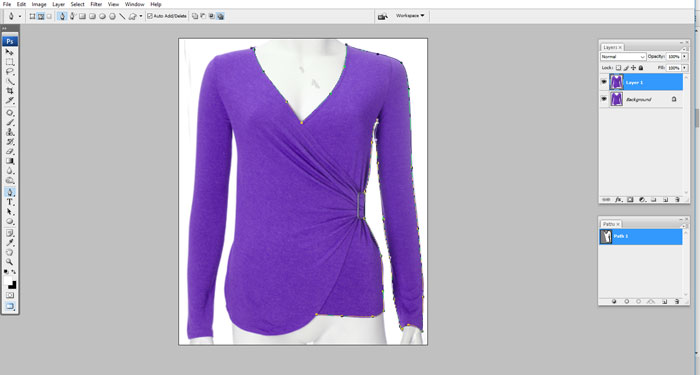
The first step should involve cropping the photo. Because so as to have a minimum background that can be seen from the back of the jacket. You can do this by selecting the Crop tool in the toolbar on the left side of your screen. Then, you should duplicate a layer by clicking Ctrl + J.
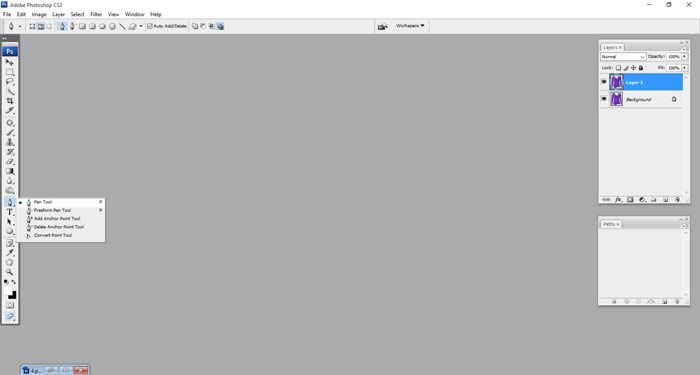
The third step involves selecting your Photoshop pen tool. Then next cutting of the mannequin as well as the background from the jacket.
In Step four, start at the topmost part of the collar just where the mannequin’s neck starts, and move downwards following the mannequin’s neckline. Work out slowly and perfectly so as to get your way along the collar line.
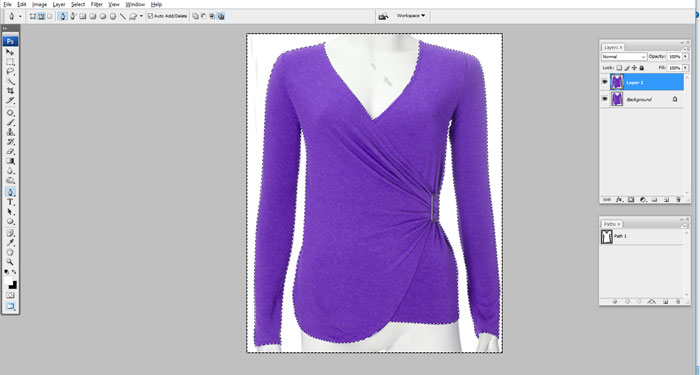
The fifth step, once at the collar top extend the path to the edge and top of the page. On the other side, and down the edge of the page. In step Seven, you repeat the same for the mannequin legs. Then finish creating a path to the next area joining it when you see the “O” symbol.
next, click the palette path by holding CTRL, select paths inverse selection, and delete.
Joint the Neck part from the Neck image
You can now open the inside of the garment cropping the collar area or label.

You should then click CTRL-A, C, and V, moving the inside of the cropped part in front of the first image of the jacket.
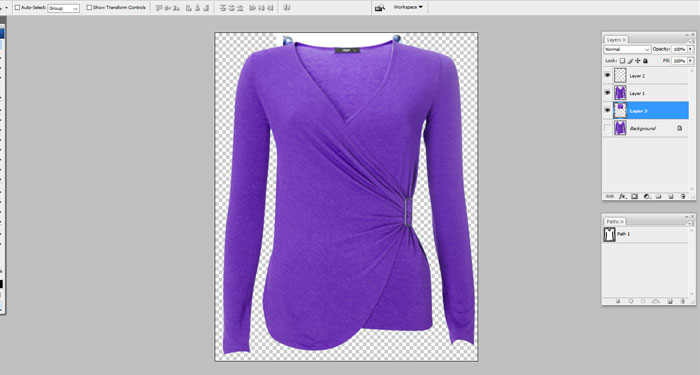
At this point, move the new piece under the first layer of the jacket’s front, then decide how many shirts you need after you are certain the replacement was successful. Select the pen tool, from the top of the collar cut through the area you inserted, and cast out excess clothing.
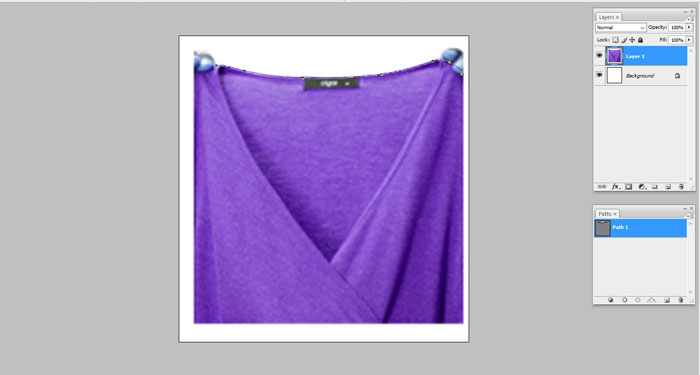
Select the eraser tool soften the uncut areas around the edges and remove them from the collar. Ensure there is no seam between the new piece and the collar, and you may leave a shadow if you want to and give it a perfect finish.
You may use a size 25 brush to append darker shades on the lower side of the inside collar so that it appears more realistic.
Using your Photoshop tools allows you to do absolutely everything on your photo shots to get your desired images in the best way possible.