
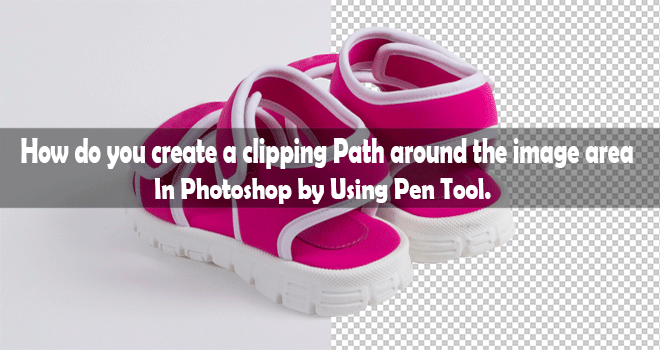
A clipping path is a technique whereby a closed path is created and cuts out objects in an image. It is widely used in image editing software like Adobe Photoshop. Clipping path services can be beneficial to all work related to digital images. Photographers, publishers, artists, advertising companies, online shops, graphic design companies, and magazines all stand to benefit from clipping path services. The following can be achieved using clipping path; cutting out objects, design, changing or removing background and photo collage.
Clipping path tutorial
Adobe Photoshop has great tools for clipping paths like the lasso tool or the magic wand tool. They are however inefficient for professional image editing and is recommended for personal use. The pen tool is better for manually cutting out the image although it is very time-consuming. Here are some steps to outline a clipping path.
Getting started
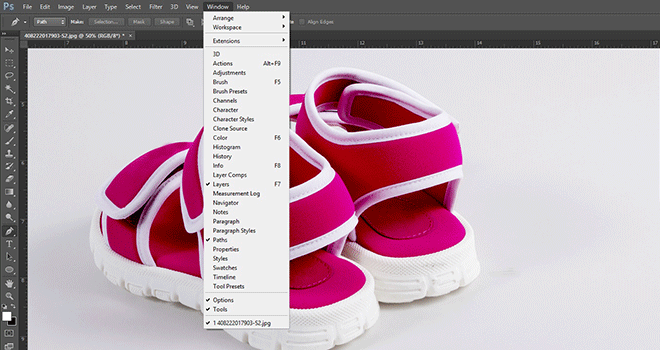
- Open Adobe Photoshop. Access the window tab and select “Layers” to press F7. Ensure layer window, and path window is open. If not, open from the Window Menu bar. Make sure the layer, path, and channel windows are open.
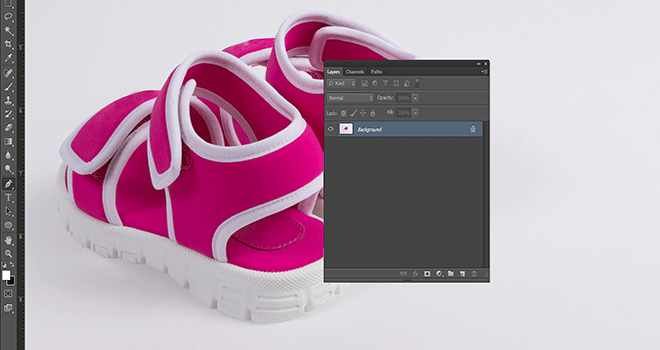
- Select the image you want to work on from the Image File tab. The background layer will be automatically created.
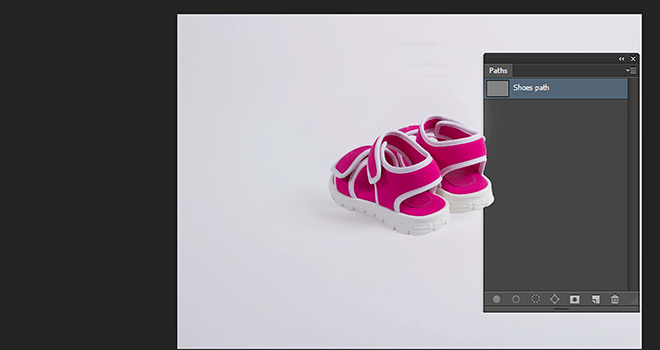
- Create a path from the “Path” window and click on the “Create a new path” button. This creates a new path named path1 by default; that you can rename to your liking.
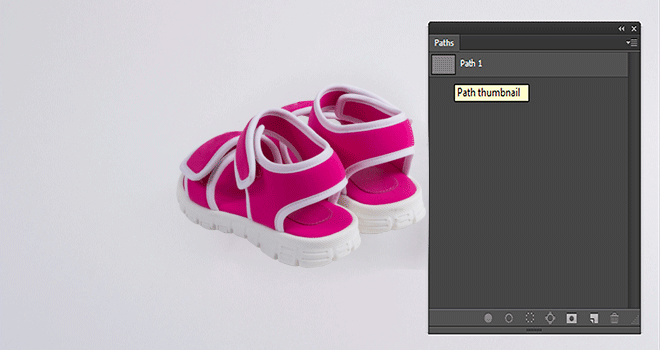
- To rename, double-click on the newly created path to activate the rename function. Type the name you have chosen, g., Shoe path, and clicked outside the typing area to rename it.
- It is good to zoom the image around 300% when clipping to get a finer

Creating the path
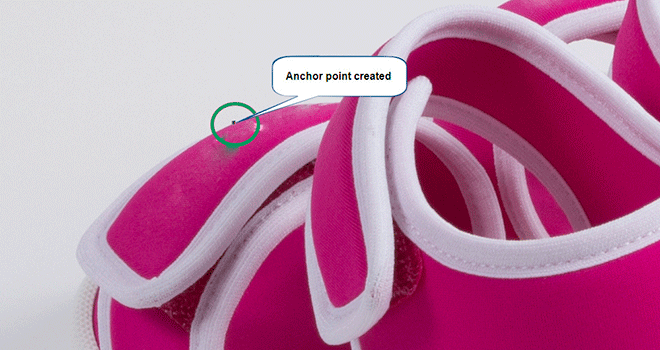
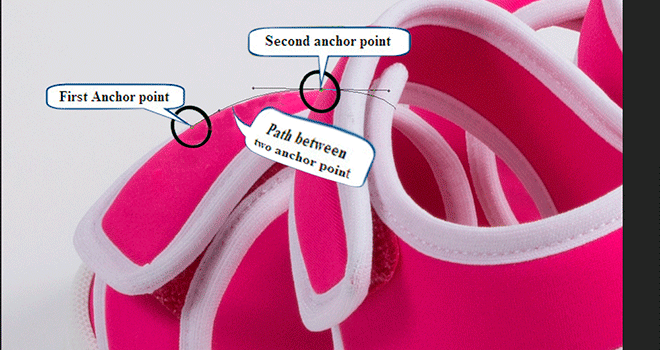
- Construct a close path using the Pen Tool found in the Toolbar. Click on the edge of the object you are cutting with Pen tool selected. A dot (called the anchor point) will be created. Click again on the edge of the object some distance away from the anchor point.
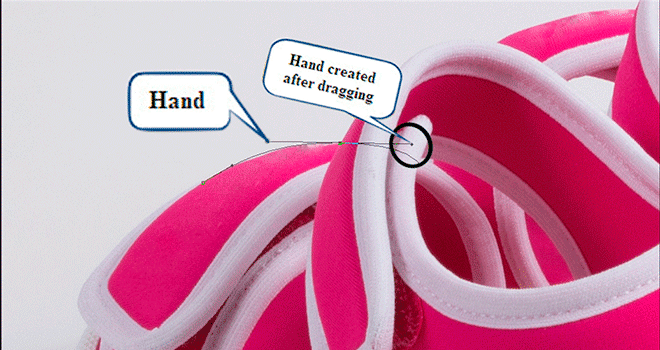
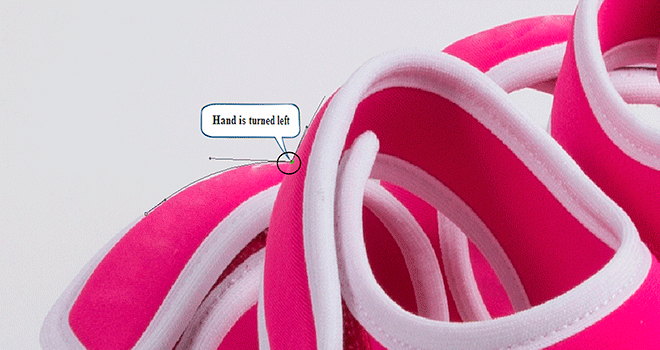
- Without releasing the mouse button, drag towards the object. A hand is created after you drag. The two anchor points are linked by a path connecting them.
- Corners are inevitable in the clipping paths. In our Shoe Paths example, let’s imagine cutting a path around the car. To create a path around the corners; press and hold ALT and then use the mouse to select the hand on the corner. An arrow sign appears, and you can move it to where you want to direct the path.
- Press the ALT key whenever you have to turn the hand. Create these small paths until you get back to the first anchor point you created and then close the path.
Saving the path
- Save it as a clipping Select the path window and click on the shoe_path file. Click on the small arrow button on the top left of the windows toolbar. Select clipping path on the menu and press OK when the window appears.
- Proceed to the file menu and select “Save As”. Save the file as a PSD file, or you can rename it to what you want. You can also choose other formats like JPEG or TIFF.
That is how to create a closed clipping path in Adobe Photoshop. This skill can prove to be invaluable if you work with digital images.