
Removing backgrounds is important in image editing, mainly in Adobe Photoshop. It means removing unwanted parts and often replacing the background with other colors. In e-commerce, a simple background makes products more attractive. So, it’s very important. This article looks at Photoshop’s tools for removing backgrounds. They are the Object Selection Tool, Quick Selection Tool, and Magic Wand Tool. It also provides a guide for achieving professional results.
Table Of Contents
Here are the tools used to remove backgrounds
How to remove the background from an image?
Remove Background in Photoshop Using the Object Selection Tool
How to Remove Background in Photoshop Using the Quick Selection Tool
How to Remove Background Using the Magic Wand Tool
How to Remove Background Using the Pen Tool
How to Use the Background Eraser Tool in Photoshop
How to Use Channel Masking in Photoshop
Conclusion
FAQ:
What is background removal?
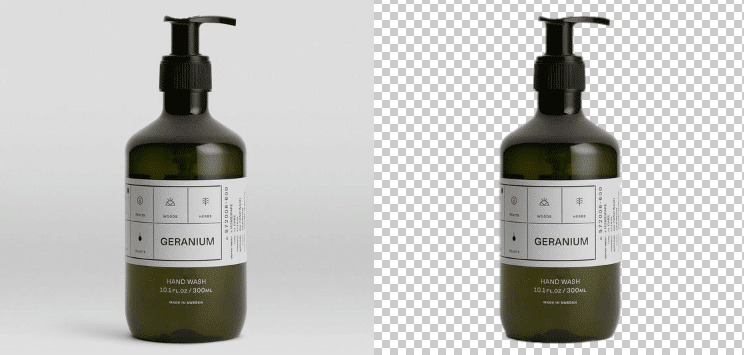
Removing the background implies erasing the unwanted areas of the image. When an image has a bad background, the whole image looks dull and boring. To lend a vibrant and bright appearance, the background is removed and replaced with a new white background. For example, if you are using images for online selling portals, white backgrounds are a must because they have a soothing effect. Also, the viewers feel more connected as the background looks exciting.
Here are the tools used to remove the backgrounds in Photoshop:
- Object Selection tool
- Quick selection tool
- Magic wand tool
- Pen tool
- Background eraser tool
- Channel masking
How to remove the background from an image?
Depending on the complexity of the images, different methods of background removal will apply. To enhance the images, background removal has gained worldwide popularity. let’s learn the uses of all Photoshop background removal tools.
How to Remove Background in Photoshop Using the Object Selection Tool
Hey there. Today, we will learn to remove a picture’s background. We will use a cool tool in Photoshop called the Object Selection Tool. It’s like magic. Let’s get started.
Step-by-Step Guide:
Step 1: Open Your Picture
Start Photoshop and load your image. Click “File,” then “Open,” and select your picture.
Remove the background
Step 2: Find the Object Selection Tool
On the left, locate the toolbar. Find the tool with a rectangle and a dotted line. This is the Object Selection Tool. If you don’t see it, it might be under another tool. Click and hold the Quick Selection Tool or Magic Wand Tool to reveal it.
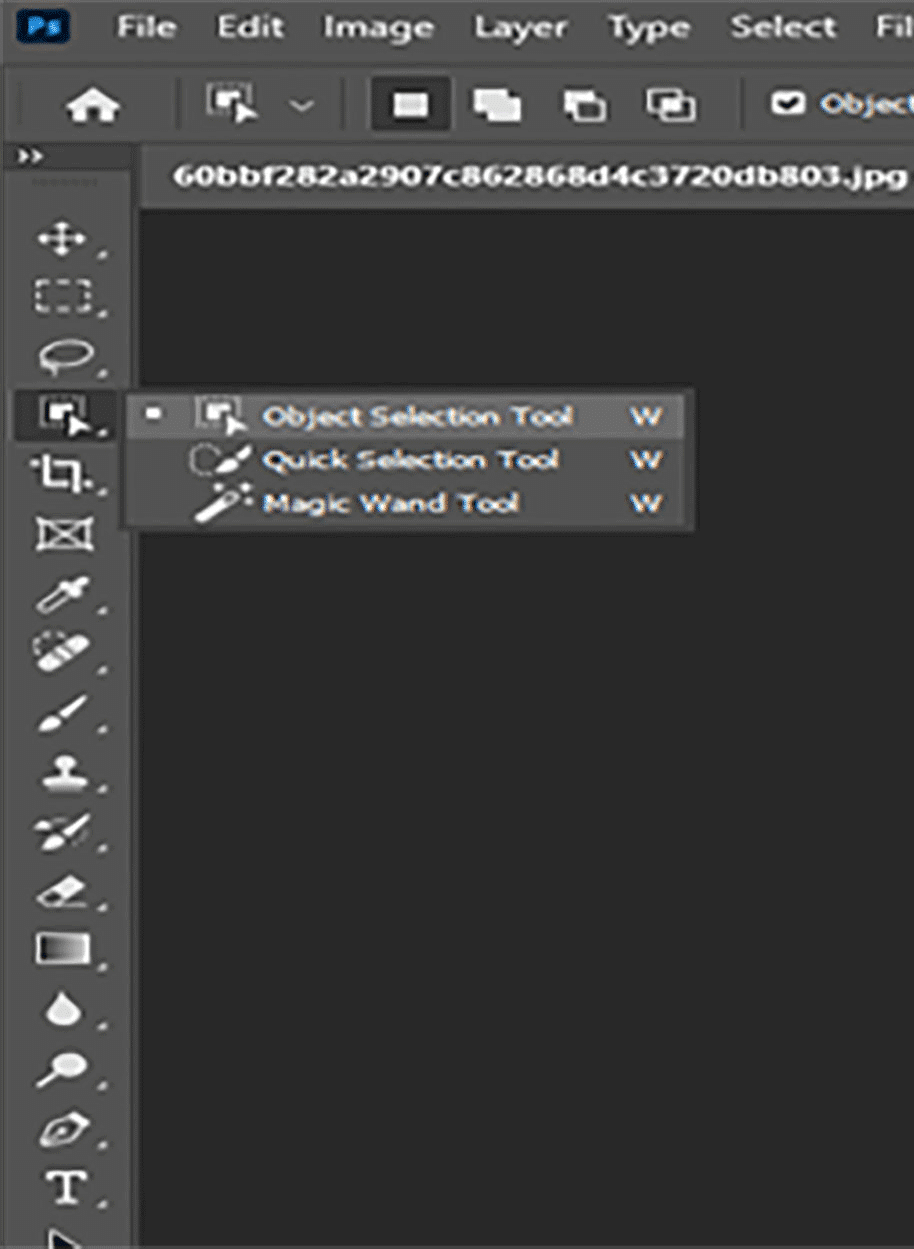
Find the Object Selection Tool
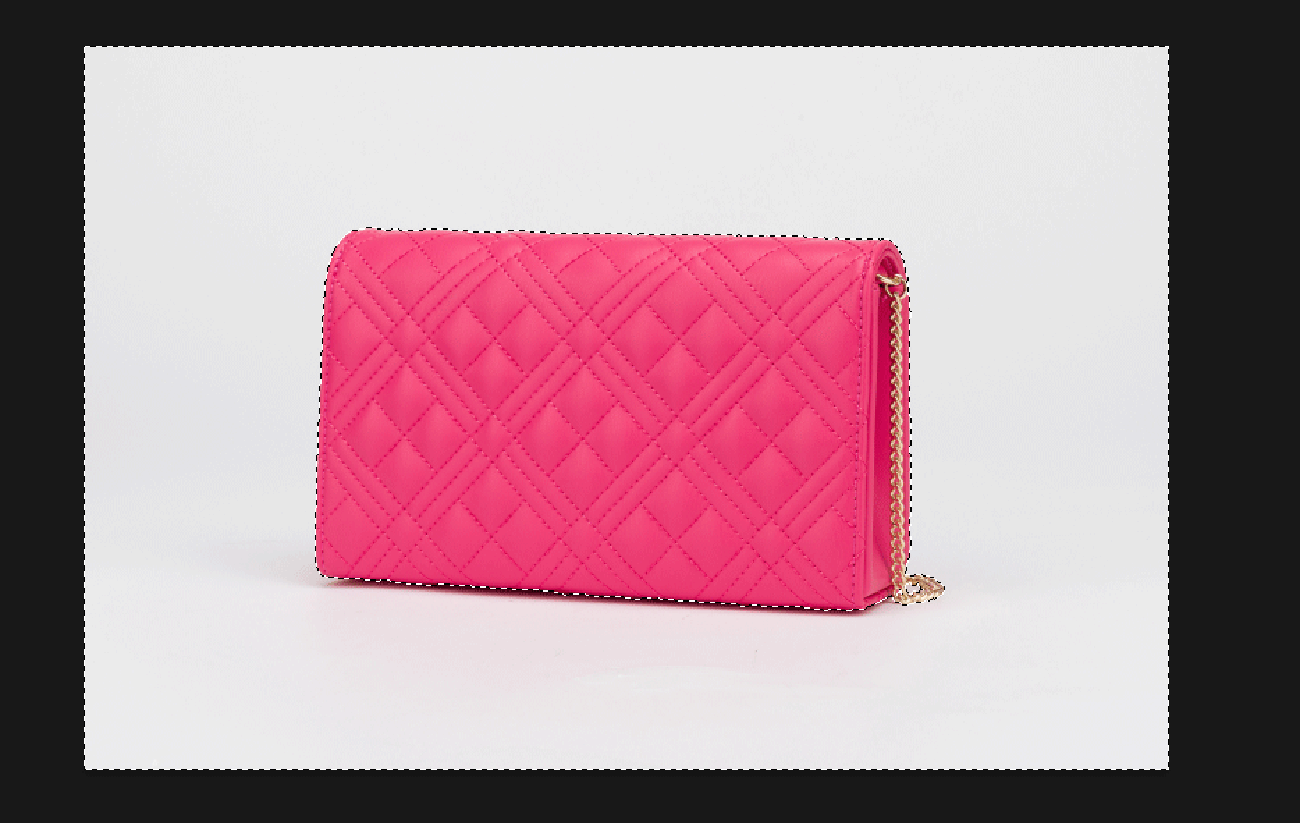
Step 3: Select the Object
Select the Object Selection Tool. Hover over the object you want to keep. Click and drag a box around it. Photoshop will try to select it. It might not be perfect, but that’s okay.
Select the Object
Step 4: Fix the Selection
If the selection is incomplete, hold “Shift” and click to add. To remove, hold “Alt” (or “Option” on Mac) and click.
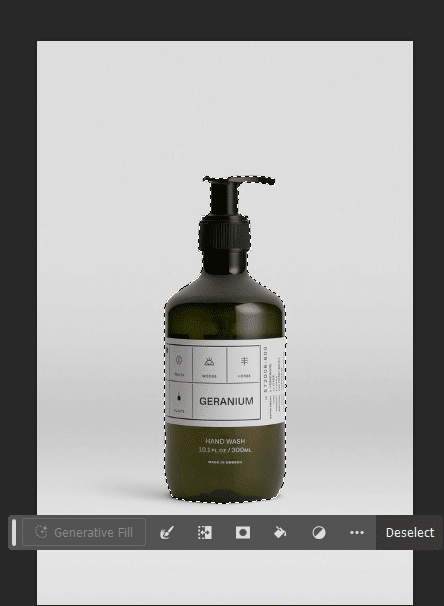
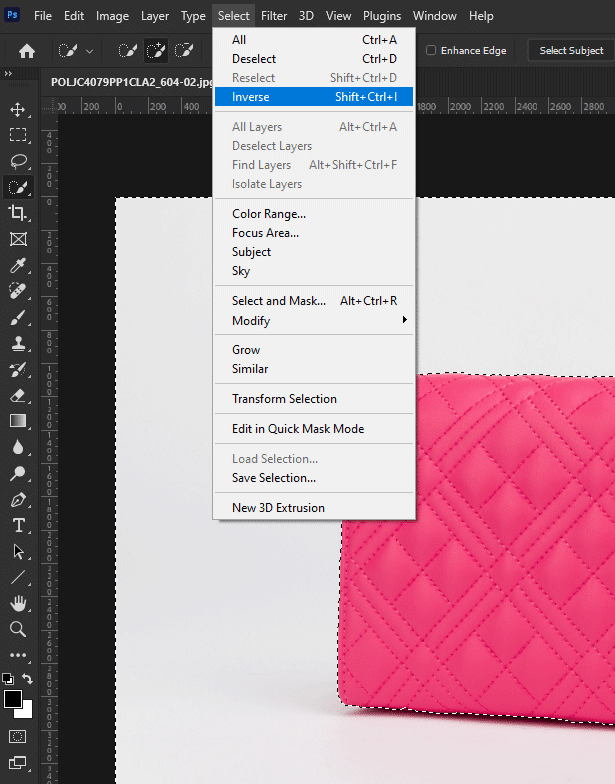
Step 5: Remove the Background
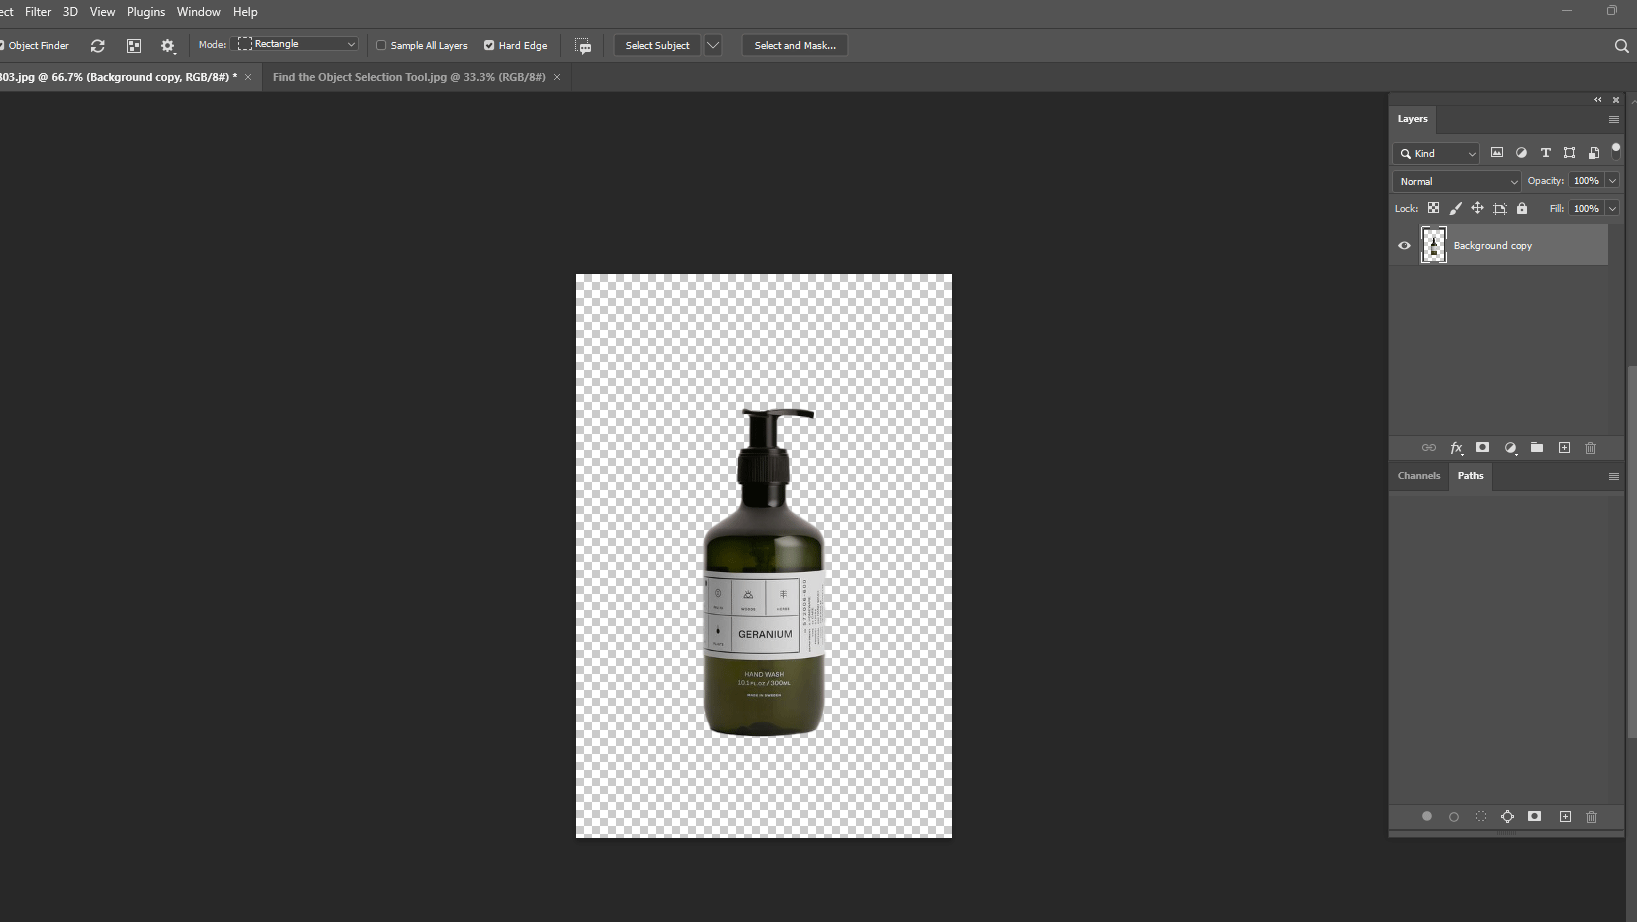
Remove the Background
Once satisfied, remove the background. Click “Select,” then “Inverse” to select the background. Press “Delete.” The background disappears.
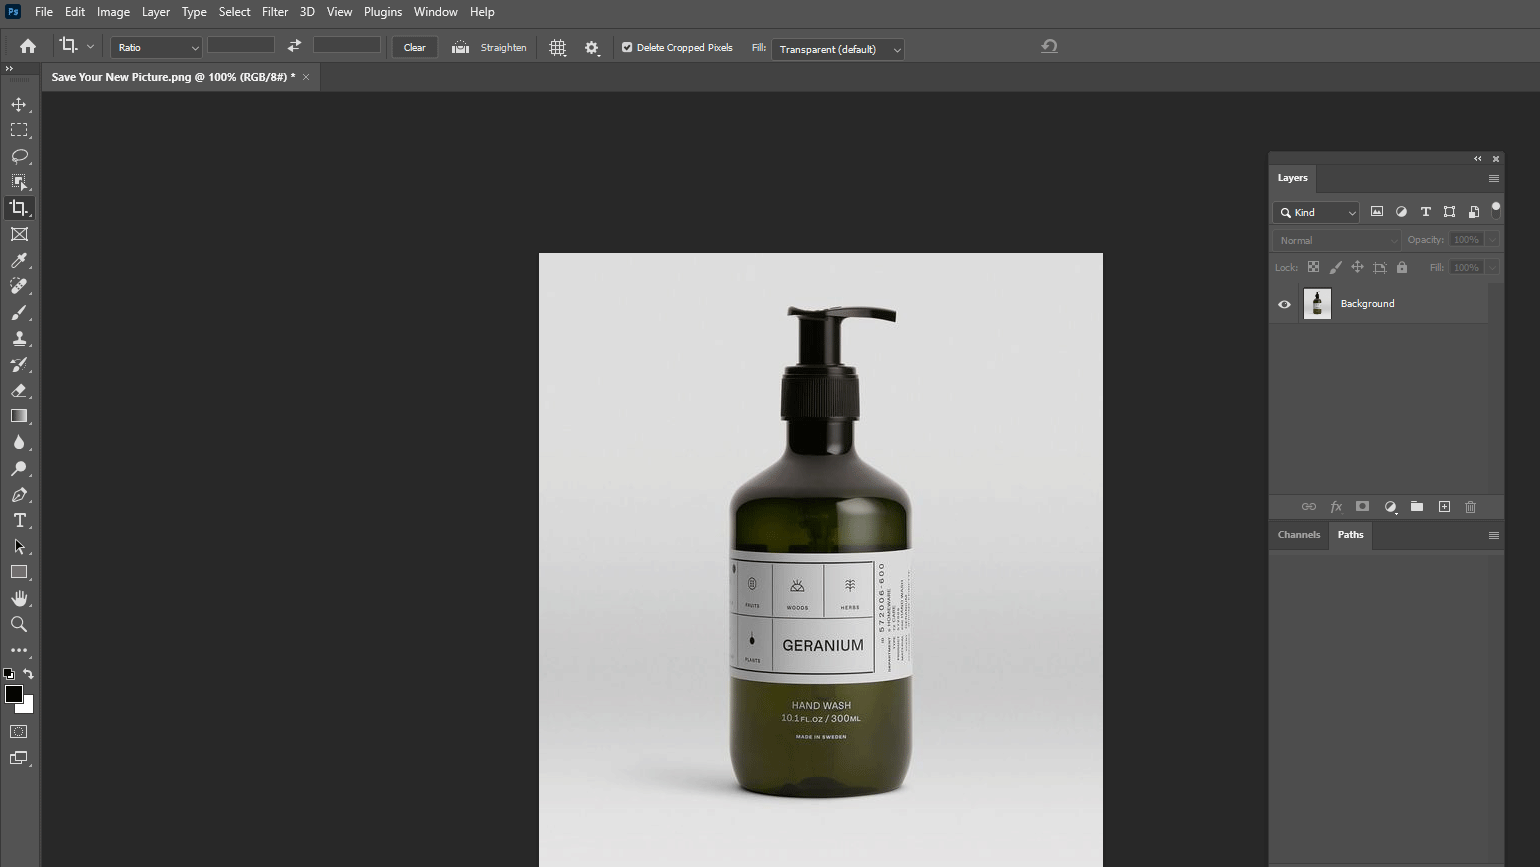
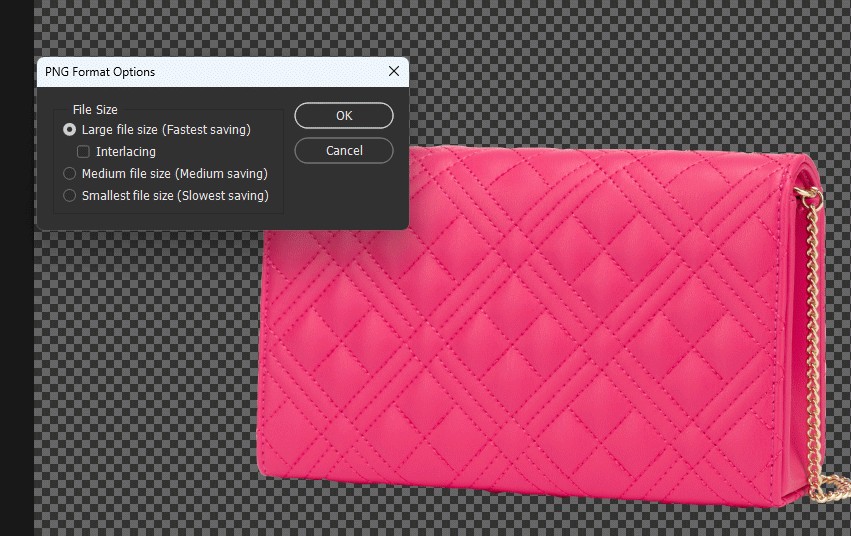
Step 6: Save Your New Picture
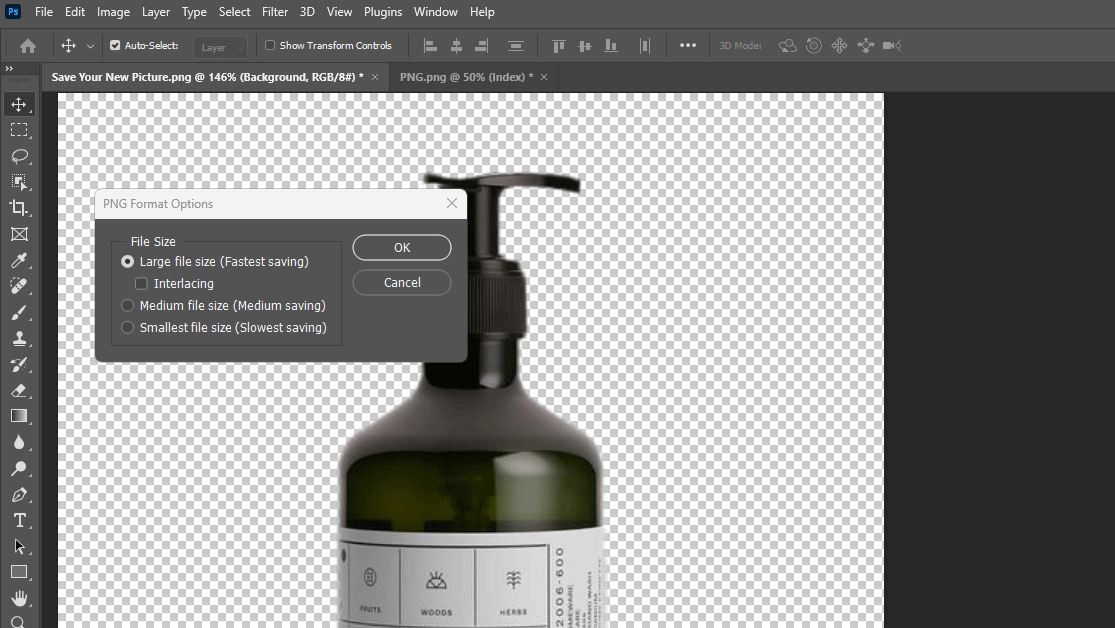
Save your images PNG transparent.
Finally, save your work. Click “File,” then “Save As.” Choose a name and save as PNG for transparency.

successfully removed a background
You’ve successfully removed a background using the Object Selection Tool in Photoshop.
How to Remove Background in Photoshop Using the Quick Selection Tool
Step-by-Step Guide:
Step 1: Open Your Picture

Launch Photoshop. Click “File,” then “Open,” and select your picture.
Step 2: Select the Quick Selection Tool
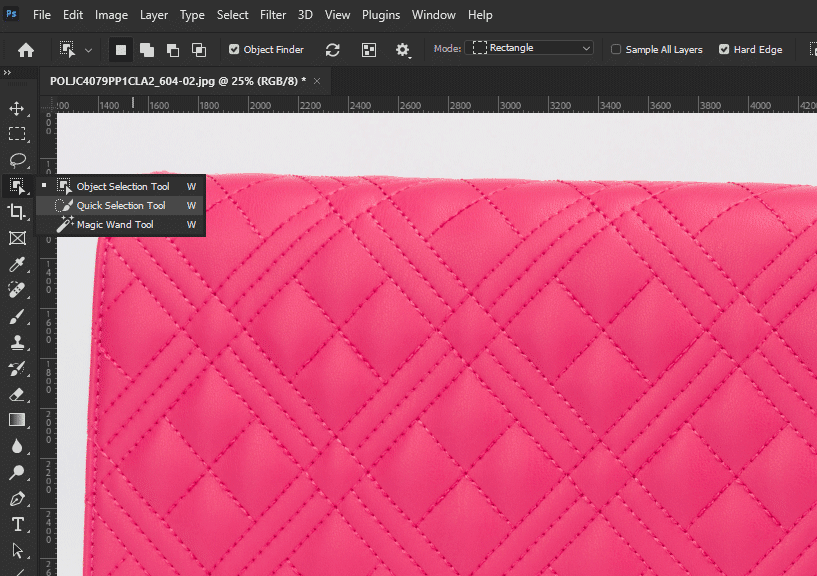
Find the tool that looks like a paintbrush with a dotted circle. It’s on the left. If it’s not visible, it might be hidden under the Magic Wand Tool. Click and hold the Magic Wand Tool to reveal it.
Step 3: Select the Object
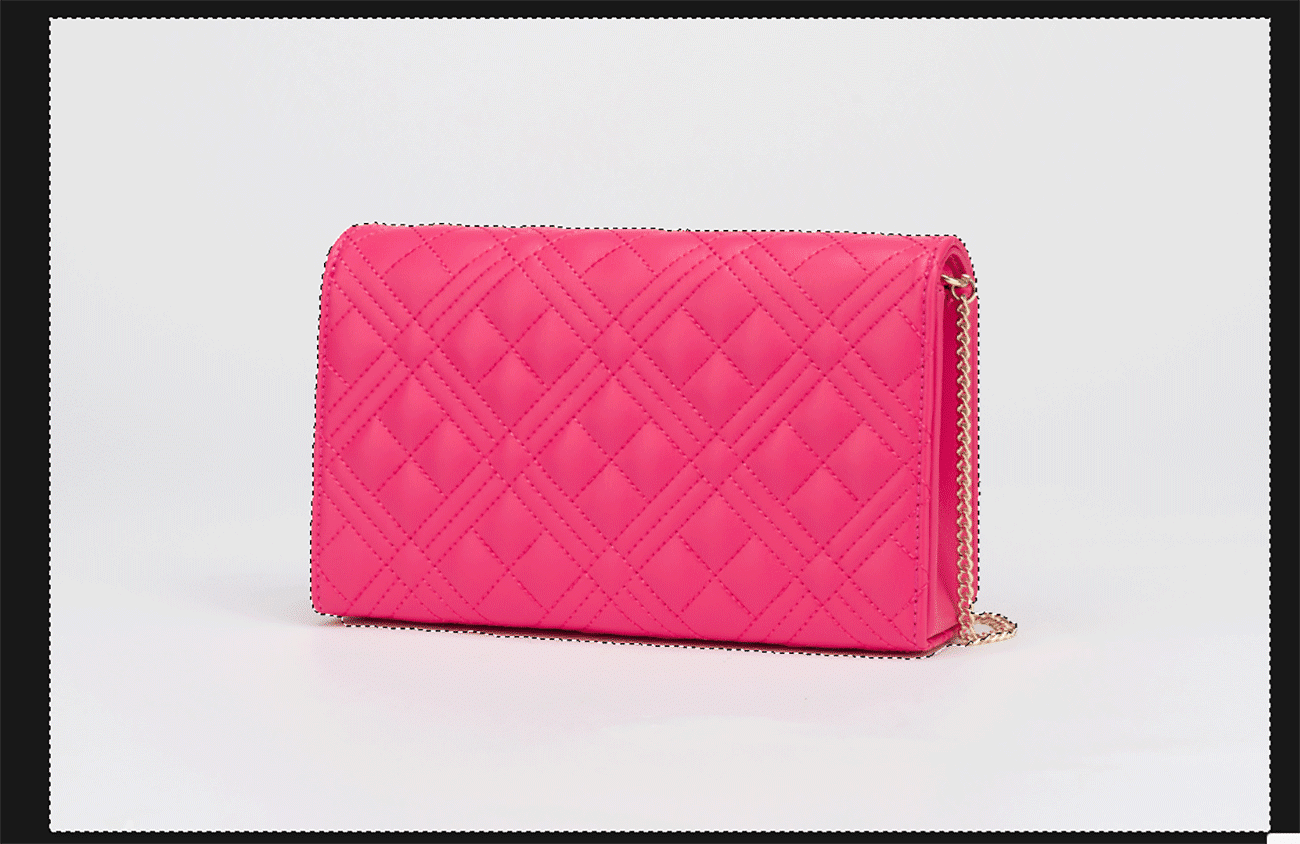
Click the Quick Selection Tool. Then, drag over the object you want to keep. A selection line will appear. The tool selects based on colors and edges.
Step 4: Adjust the Selection
To add more, just drag over those areas. To remove parts, hold “Alt” (or “Option” on Mac) and drag.
Step 5: Remove the Background
Once satisfied, click “Select,” then “Inverse.” This selects the background. Press “Delete” to remove it.
Step 6: Save Your Picture
Finally, save your work. Click “File,” then “Save As,” and name your picture. For a transparent background, choose PNG format.
You’ve now removed the background using the Quick Selection Tool. It’s perfect for quick edits.
How to Remove Background Using the Magic Wand Tool
Step-by-Step Guide:
Step 1: Open Your Picture

Start Photoshop and load your image. Click “File,” then “Open,” and select your picture.
Step 2: Select the Magic Wand Tool
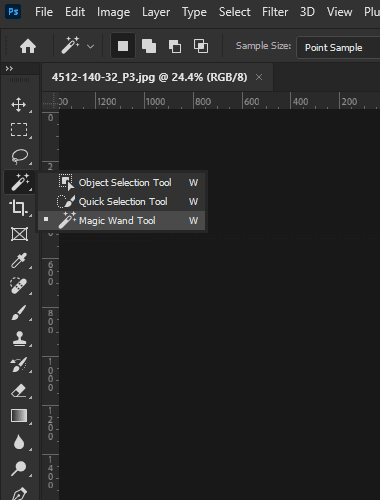
Find the magic wand icon in the left toolbar. If it’s not visible, it might be hidden under the Quick Selection Tool. Click and hold the Quick Selection Tool to access it.
Step 3: Adjust the Tolerance

Check the “Tolerance” setting at the top. This controls how similar colors need to be for selection. A lower value selects similar colors; a higher value includes more colors. Start with 20-30 and adjust as needed.
Step 4: Select the Background
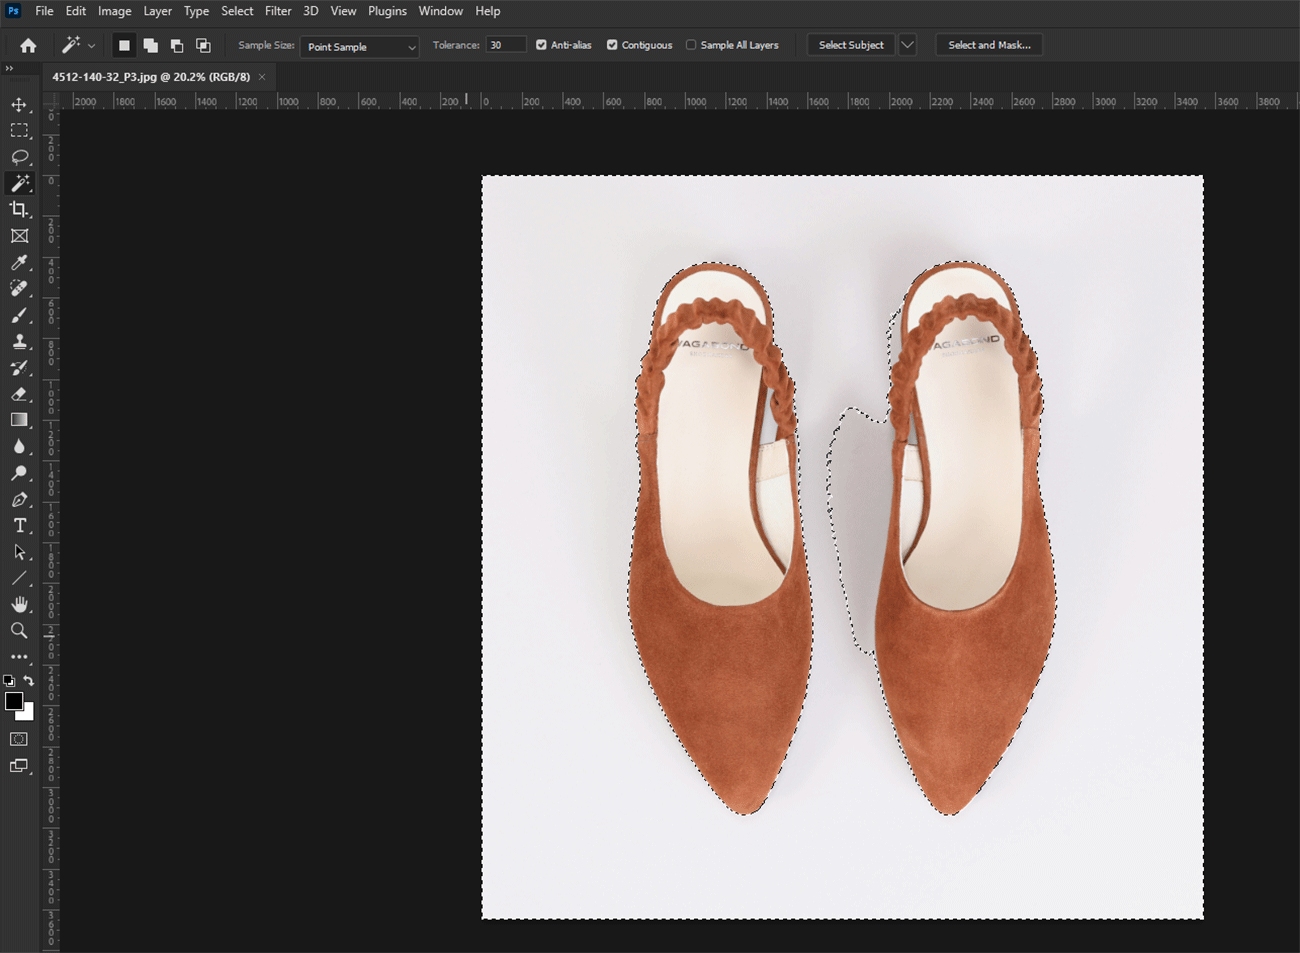
Click on the background. The Magic Wand Tool will select similar color areas. Adjust the tolerance and try again if needed.
Step 5: Refine the Selection
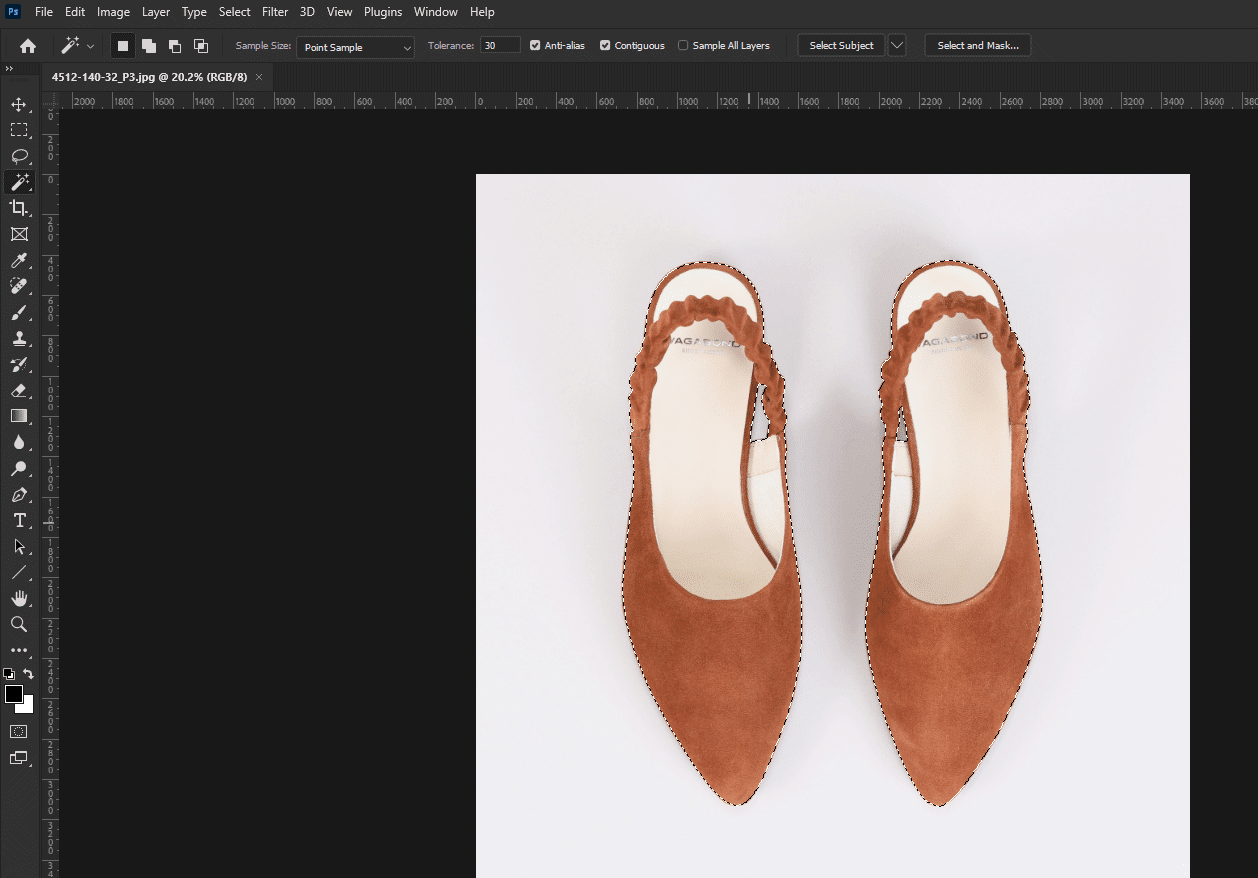
To add areas, hold “Shift” and click. To remove areas, hold “Alt” (or “Option” on a Mac) and click.
Step 6: Remove the Background
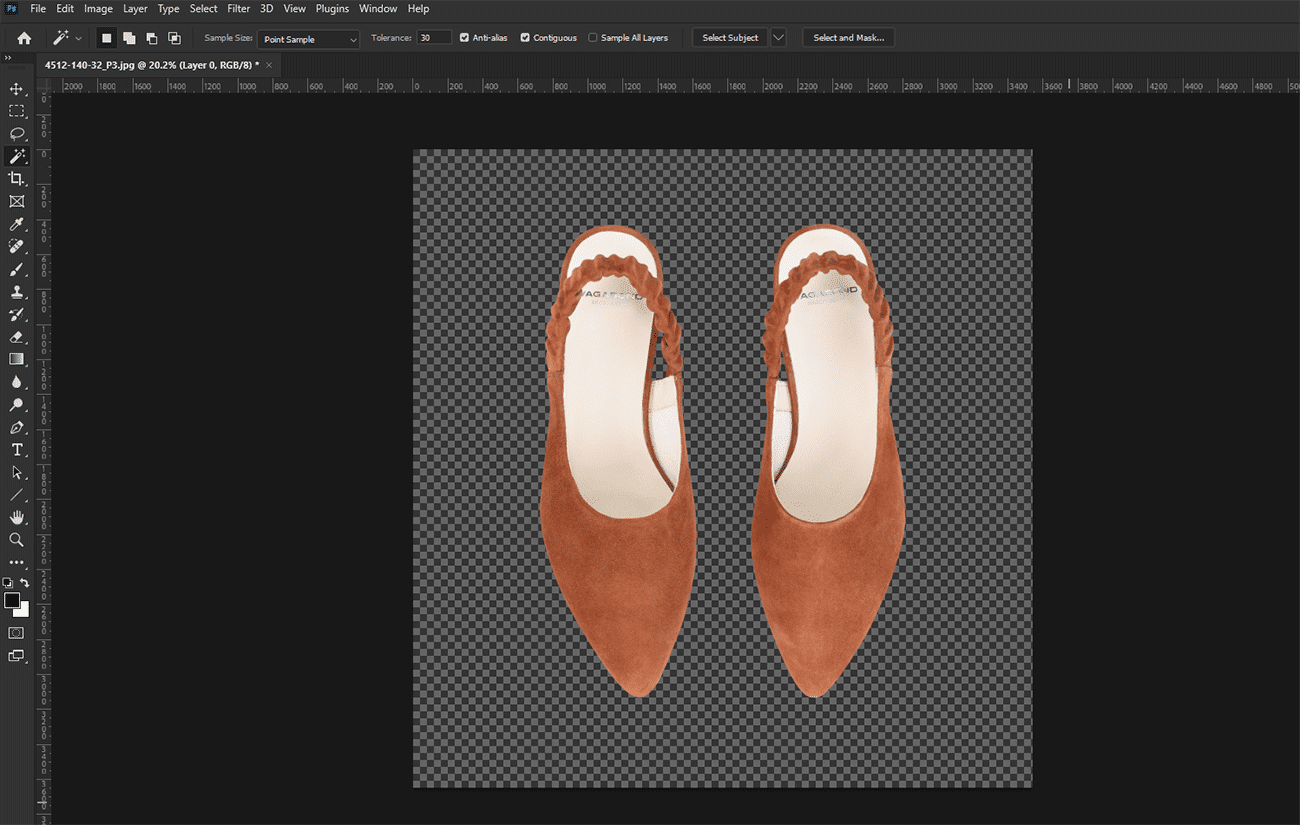
Press “Delete” to remove the background. A checkerboard pattern means it’s transparent.
Step 7: Save Your Edited Picture
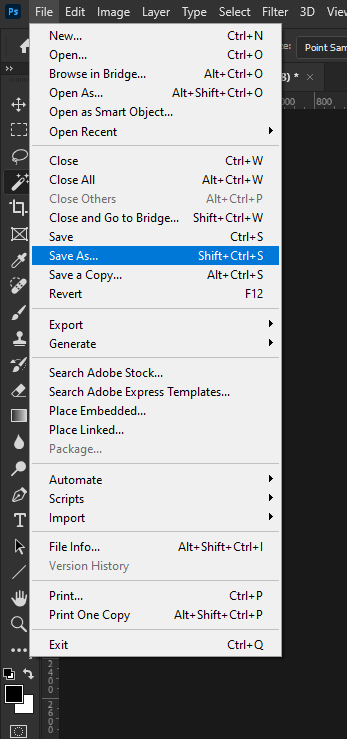
Save your work. Click “File,” then “Save As,” and name your picture. For a transparent background, save it as a PNG.
You’ve now removed the background using the Magic Wand Tool. It’s best for images with simple backgrounds.
How to Remove Background Using the Pen Tool
Step-by-Step Guide:
Step 1: Open Your Picture
First, open Photoshop and your picture. Click “File” in the top left, then “Open,” and choose your image.
Step 2: Select the Pen Tool
Next, find the toolbar on the left. Look for the tool that resembles a fountain pen nib. That’s the Pen Tool. If you can’t see it, it might be hidden. Just click and hold on the nearby tool to reveal it.
Step 3: Start Creating a Path
Click on the edge of the object you want to keep. This will create the first anchor point. Move along the edge and click to create more anchor points. For curved edges, click and drag to adjust the curve. Continue placing points around the object until you return to the starting point to close the path.
Step 4: Adjust the Path
To adjust the path, hold “Ctrl” (or “Cmd” on a Mac). Then, click an anchor point to move it. You can also adjust curve handles to refine the path.
Step 5: Convert the Path to a Selection
When satisfied with the path, click “Path” in the top menu, then the “Load Path as a Selection” button in the Paths panel (usually on the right). This converts your path into a selection.
Step 6: Remove the Background
With the object selected, go to the top menu and click on “Select,” then “Inverse.” This will select the background instead of your object. Press the “Delete” key on your keyboard to remove the background.
Step 7: Save Your Edited Picture
First, save your edited picture. Click “File,” then “Save As,” and name it. To keep the background transparent, save it as a PNG.
You’ve just removed the background using the Pen Tool. This tool is ideal for detailed work and offers control over selections.
How to Use the Background Eraser Tool in Photoshop
Step-by-Step Guide:
Step 1: Open Your Picture
Load your picture in Photoshop. Navigate to the top-left corner. Click “File,” then “Open.” Select your image to start editing.
Step 2: Select the Background Eraser Tool
Next, find the toolbar on the left. Look for the Eraser Tool, shaped like a traditional eraser. Click and hold it to see more options, then pick the Background Eraser Tool.
Step 3: Adjust the Tool Settings
At the top, you can adjust the tool settings. Key options include:
- Brush Size: Pick a size that suits your task. Adjust as needed.
- Hardness: A hard brush creates sharp edges. A soft brush blends colors.
- Sampling: Choose “Continuous” to sample as you move. “Once” samples the first color clicked. “Background Swatch” erases the color matching the background swatch.
- Limits: “Contiguous” erases connected areas. “Discontiguous” erases all matching colors.
- Tolerance: This controls color similarity for erasing. Lower values erase similar colors. Higher values expand the range.
Step 4: Remove the Background
Use the Background Eraser Tool to click and drag over the area you want to delete. It erases pixels based on the color under the brush’s center. So, be careful near the edges of your object to avoid removing parts you want to keep.
Step 5: Refine the Edges
If needed, you can refine the edges using the regular Eraser Tool or the Refine Edge feature to clean up any leftover background or to smooth the edges of your object.
Step 6: Save Your Edited Picture
Finally, save your edited picture. Click “File,” then “Save As,” and name it. To keep the background transparent, choose PNG format.
How to Use Channel Masking in Photoshop
Step-by-Step Guide:
Step 1: Open Your Picture
First, open Photoshop and load your picture. Click “File,” then “Open,” and select your image.
Step 2: Open the Channels Panel
Navigate to “Window” and choose “Channels.” RGB images display Red, Green, and Blue options. This reveals the color components of your picture.
Step 3: Find the Best Channel
Click on each channel to find the one with the best contrast between your object and the background. This channel will be easiest to work with.
Step 4: Duplicate the Channel
Drag the best channel to the “New Channel” icon to duplicate it. You’ll use this new channel for your mask.
Step 5: Enhance the Contrast
Choose the duplicated channel. First, go to “Image.” Then, click “Adjustments” and select “Levels.” Finally, adjust the sliders to make your object white and the background black.
Step 6: Refine the Mask
Use the Brush Tool to refine the mask. Paint with white to add, and black to remove. Use the Dodge and Burn tools for specific adjustments.
Step 7: Create a Selection
Once satisfied, hold “Ctrl” (or “Cmd” on Mac) and click the duplicated channel thumbnail to make a selection.
Step 8: Apply the Mask
Return to the Layers panel. With the selection active, click “Add Layer Mask” at the bottom. This adds the mask to your image, removing the background.
Step 9: Save Your Edited Picture
Finally, save your edited picture. Click “File,” then “Save As,” and rename it. To keep the background transparent, save it as a PNG.
You’ve used channel masking to remove the background. This method is great for images with intricate details, allowing for precise selections.
Conclusion
In short, Adobe Photoshop offers various tools to remove backgrounds from images. These tools cater to different levels of complexity. For simple tasks, use the Object Selection Tool. For more complex selections, turn to the Pen Tool. Mastering these techniques boosts your editing skills. Clean, professional backgrounds enhance your images. This is crucial for online retail and design projects. Knowing these tools improves image quality and expands your editing capabilities.