
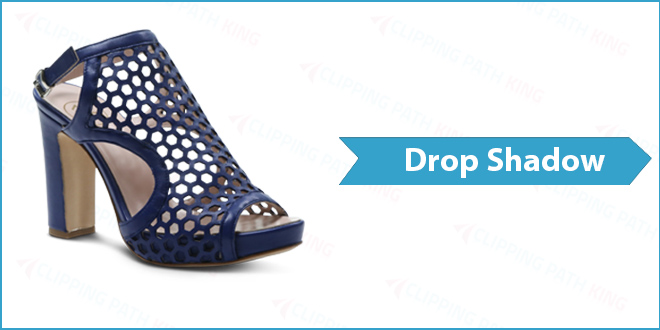
Often overlooked is the drop shadow effect in Photoshop. Drop shadow is a way of adding an effect to an image and creating a shadow for the object. This effect is gaining traction and is commonly used in ecommerce platforms, newspapers, websites and magazines. The main purpose of the drop shadow effect is to illustrate depth and make the object more visible and realistic. So far, this effect works perfectly to capture the attention of viewers and readers. Below is a step by step tutorial of the drop shadow technique in Photoshop.
Preliminary steps for adding Drop Shadow
These steps will get you started for the drop shadow. Clipping path service is recommended to cut out the object before starting.
- Step One: Open the target image in Adobe Photoshop.

- Step Two: Open the layers tab on the window menu. Ensure that layer 0 in the layers window is filled in white (for the background). Layer 1 should have the shoes image which is what we’ll use in this tutorial. The shoes should be cut out and stand alone without a background; which can be achieved by using the clipping path from the pen tool in Photoshop.
- Step Three: Make a copy of Layer 1. Select the shoes layer and press Ctrl + J at the same time.
Creating the shadow
To create a drop shadow, the image has to be changed to black and manipulated to fit the shadow size.
- Step Four: Change the color of the foreground into black. You can use the (Shift + X) shortcut to do this.
- Step Five: Press Shift + Alt + Delete to make the target image black (the shoes image).
- Step Six: Use the free transform feature. Press Ctrl + t to invoke the feature.
- Step Seven: Dropping the image shadow. In order to create a shadow, click on the top middle square and then drag the black image downwards.
- Step Eight: Exit “Free Transform” feature by pressing the “Enter” or “Return” key.
- Step Nine: Open the layers window. Click on the shadow layer and drag it below the shoes image layer (layer 1) so that the shoes are in front of the created shadow.
Editing the Drop shadow
The black shadow created does not resemble a normal shadow and we have to change it.
- Step Ten: From the layer window, select the shadow layer. On the menu that pops up, navigate to Filter>Blur and select Motion Blur.
- Step Eleven: Adjust the shadow by reducing the distance to smooth around the shadow of the shoes. Then, change the angle to 0.
- Step Twelve: Click the OK button to apply motion blur.
- Step Thirteen: Go back to the shadow layer and select Filter then Blur> Gaussian Blur.
- Step Fourteen: On the Gaussian blur menu, change the radius to 3 pixels and click OK.
- Step Fifteen: Select the shadow layer and click on “Add Layer Mask”.
- Step Sixteen: Select the brush tool from the drop down menu by clicking the brush icon, Change the opacity to 52%.
- Step Seventeen: Still on the shadow layer, change the foreground to black.
- Step Eighteen: Change brush size to a suitable one.
- Step Nineteen: Add final touches. Change the foreground by clicking the shadow and pressing Shift + X.
- Step Twenty: Adjust the shadow by clicking on the move tool and moving the shadow to a good position.