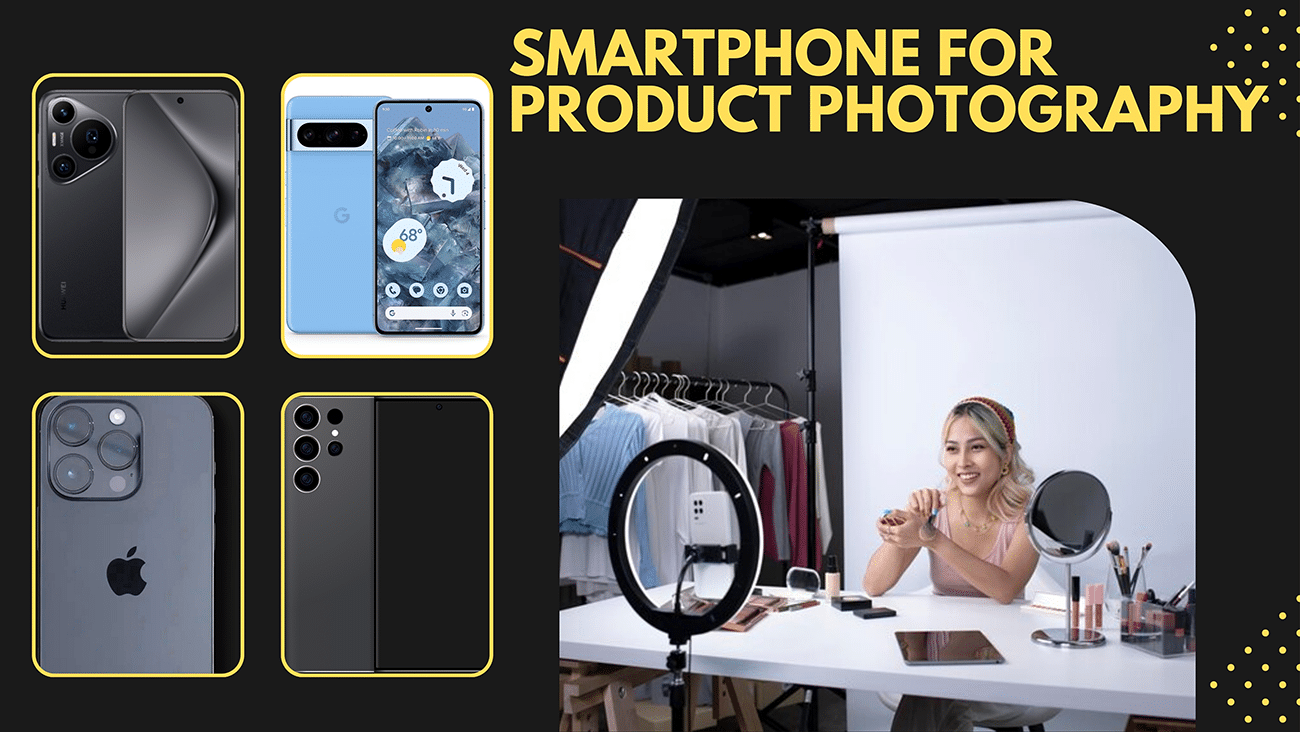
Today’s e-commerce Business is competitive, and there are many factors involved, but quality photos are one of the most important. So, high-quality product photos are crucial for attracting customers and driving online sales. In a customer survey, 88% of consumers say product photos are very important, according to Salsify.
people think for the best product photograph, they need a high-quality camera or a high setup of the studio. but you can take high-quality photos with your smartphone. in this article, we discuss about how to make high quality product photos with smartphone?
Choose your smartphone for Product Photography.
The latest smartphones provide top image quality. Always try to use a phone with at least 12 megapixels. It will take sharp, detailed photos. Before choosing a phone for product photos, consider this fact:
Sensor Size:The sensor is the camera’s key part. It captures light for photos. A bigger sensor gathers more light. This improves low-light shots, reduces noise, and widens the range. Flagship smartphones often have bigger sensors. Cheaper models do not.
Aperture: Aperture is controls of light when opening lens of camera. f/1.8 is best aperture setting is best for low light and focusing on a subject with a blurred background.
Image Stabilization: OIS and EIS are technologies that reduce hand movements and vibrations. They make images sharper, especially in low light or with long exposures.
Software Processing: The software algorithms used by your smartphone play a crucial role in image quality. Look for phones with fast processors. They can optimize exposure, color, and detail well. Some phones also offer dedicated modes for product photography.
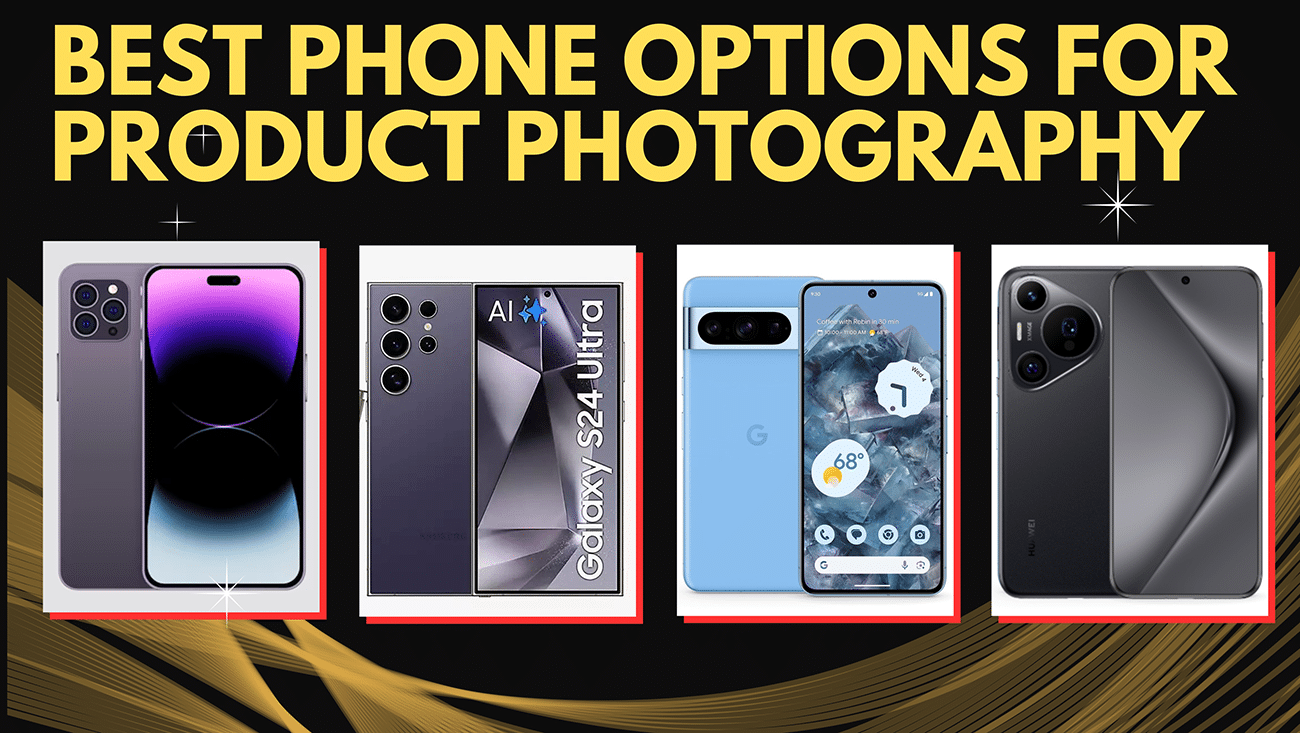
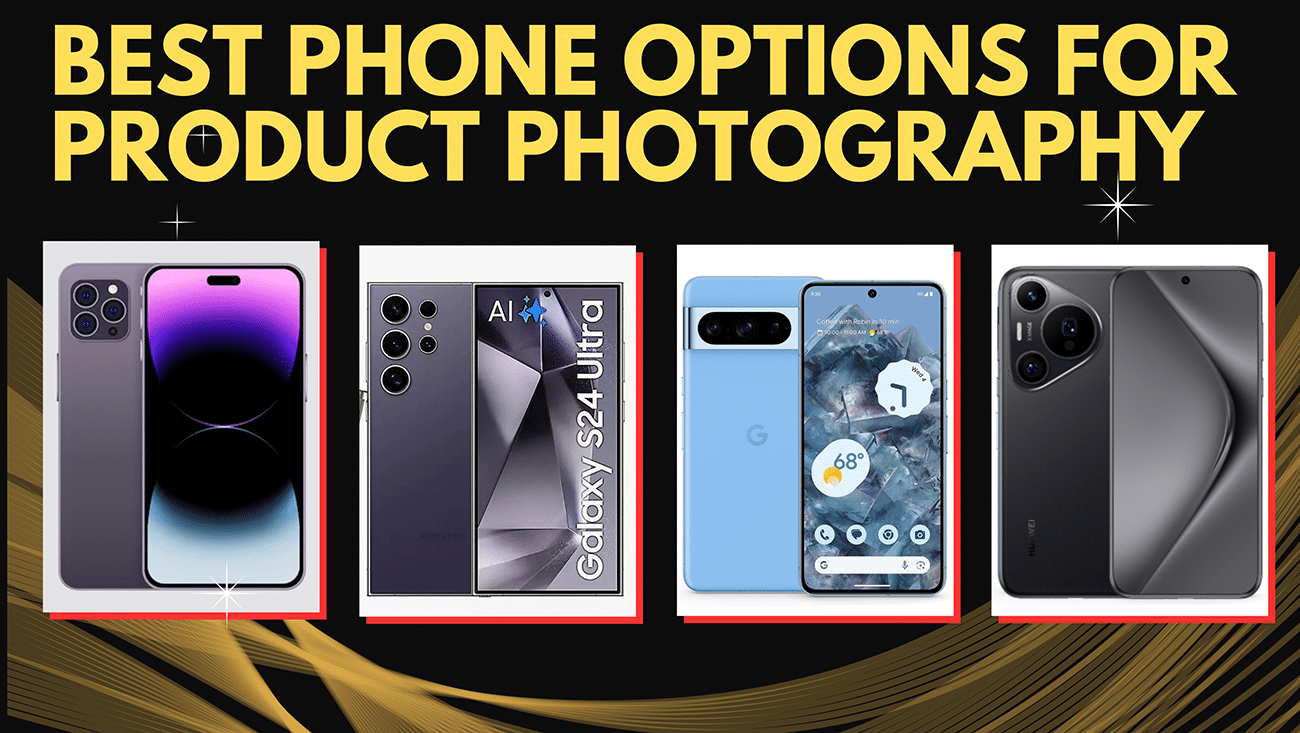
Some of the best Smartphone options for product photography :
iPhone 8 or newer: Apple’s latest iPhones have advanced cameras. They have impressive low-light performance and portrait mode.
Google Pixel 2 or newer: Pixel phones are famous for their excellent cameras. They include HDR+ and optical image stabilization.
Huawei P20 Pro or newer: Huawei’s top phones have triple-lens cameras. it’s offer high resolutions and advanced AI features.
Samsung Galaxy S8 or newer: Samsung’s Galaxy phones offer high camera quality. They include dual-pixel autofocus and RAW image support.
Collect Your Accessories Product Photography.
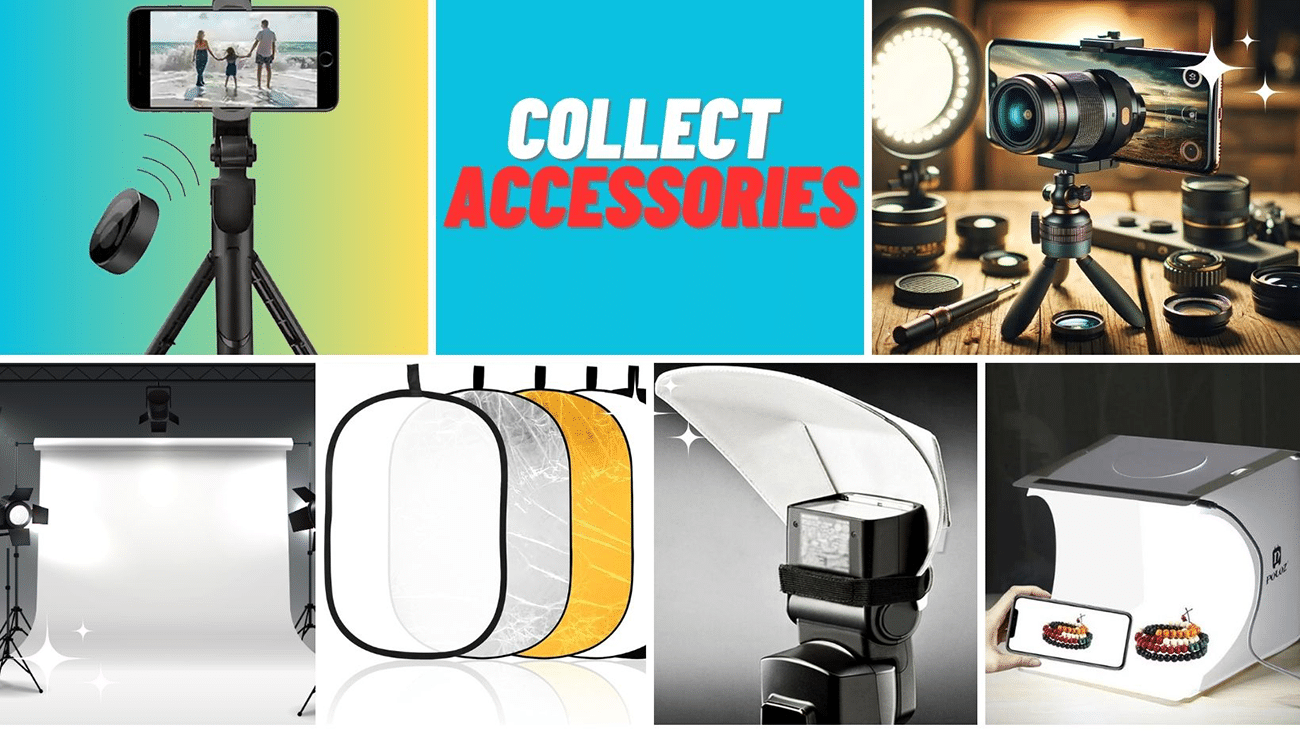
To improve your smartphone product photography, buy a few key accessories.
Tripod or stand: A tripod or stand is important. Choose a lightweight and portable stabilizer for your phone. This will prevent blurry shots and securely hold your smartphone. Some tripods even come with wireless remotes. it can help you to avoid camera shake when pressing the click button.
White paper or plain wall: Hang white paper or use a white wall. This creates a simple, clean backdrop for your product shots. This will help your product stand out. It will remove distractions from the background.
White bounce card: A white bounce card is a simple tool that can help you control the lighting in your product shots. A bounce card can help by reflecting light onto your subject. It fills in shadows and evens out the exposure.
Wireless remote: You can use a wireless remote to take photos without touching your phone. This action reduces camera shake and blurry images.
Lighting equipment: Natural light can work well for product photography. But, some basic lighting gear gives you more control over your shots. Consider a small LED light panel or a ring light to provide even, flattering illumination.
Reflectors: Reflectors act like bounce cards. They come in various sizes and colors. You can use them to reduce shadows, add warmth, or create unique effects.
Tabletop Studio: A tabletop studio is a tiny version of a pro studio. It has backdrops, lights, and a shooting surface. It’s a convenient option for shooting small to medium-sized products.
Gathering these key accessories will put you well on your way. You’ll use them to take pro-quality product photos with your smartphone.
Prepare to Product Photo Shoot:
Before you start shooting, prepare your area. Here are tips for taking great product photos:
Proper Lighting:
Lighting is perhaps the most important part of photos. Product photography is no exception. Good lighting can make your product look appealing. It can showcase its textures and details and create a mood that connects with your audience.
Natural Light: Whenever possible, utilize natural light. It’s free, readily available, and often produces the most flattering results. Position your shooting area near a large window with indirect sunlight. Avoid direct sunlight. It can cause harsh shadows and overexposure.
Golden Hour: The golden hour occurs just after sunrise. It happens before sunset. It offers soft, warm light. This light can add a magical touch to your photos. If you have the flexibility, try shooting during this time for a unique look.
Artificial Light: If natural light is not enough or unavailable, you can use LED lights or a lightbox. LED lights are efficient. They have a steady color temperature. This makes them great for product photography. A lightbox provides a controlled environment with even lighting, eliminating unwanted shadows.
Diffused Light: Whether you’re using natural or artificial light. You must diffuse it. This creates softer, even light. You can use a diffuser, a white sheet, or a shower curtain. These soften the light and reduce harsh shadows.
Background:
The background is key in product photos. It plays a big role. It should complement the product without distracting from it.
White Seamless Paper: I mentioned it earlier. White seamless paper is the top choice for most product photographers. It creates a clean, pro look. And, it allows for easy editing and background removal if needed.
Colored Backdrops: Consider using colored backdrops to add personality or set a mood. Pick colors that match your product and brand’s look.
Textured Backdrops: For a more rustic or organic feel, you can use wood or fabric. You can also use natural materials like leaves or stones.
Camera Setup:
Before you start, learn your phone’s camera settings. Most phones have automatic settings that work well. However, knowing manual controls can offer more freedom and better results.
Focus: Most smartphones have excellent autofocus. You can also adjust the focus by tapping the screen where you want. This feature is useful for close-ups or highlighting a product detail.
Exposure: Exposure changes how bright a photo is. You can adjust it by swiping on the screen. Also, use the exposure tool in your camera app.
White Balance: White balance makes photo colors accurate. Most smartphones adjust it automatically. But you can also set it manually to match the lighting.
Gridlines: Turn on gridlines in your camera settings. They help you compose your shots using the rule of thirds. This is a technique that can make your photos look better.
Take the time to set up your shooting area and prepare your product. Then, you can focus on capturing great shots without distractions or obstacles.
Shooting Techniques
Now, set up your shooting area and gather your accessories. It’s time to start shooting! Here are some essential shooting techniques to keep in mind:
Avoid using digital zoom: Digital zoom can reduce image quality and create pixelated, blurry results. Instead, move closer to your product to get a tighter shot.
Take photos from multiple angles: Don’t just take photos from one angle. Capture your product from various perspectives. This way, you can show all its sides and details.Use a
Telephoto or macro lens: If you have a clip-on telephoto or macro lens, use it to zoom in. Capture close-up shots of important features and small details.
Experiment with different camera angles: Try shooting your product from above. You can also shoot it from below or at an angle. This will find the most flattering perspective.
45-degree Angle: This is a useful angle. It works well for many products. It shows both the front and side of the product, giving a sense of dimension.
Use natural light: Light from a window can make even, soft light. Place your product near a window. Adjust the blinds or curtains. They control the light. This will make the room look better.
Bounce light with white card: Use a white bounce card. It reflects light onto your product, reducing shadows. This creates even exposure and softens the lighting.
Shoot a variety of angles and image sizes: Take shots from different distances, like close, medium, and full-length. This will offer more editing options.
Shoot in RAW format: Use RAW format if your smartphone camera supports it. It offers the best image quality and editing flexibility. RAW files have more data than JPEGs. This allows for easier adjustments to exposure, white balance, and other settings.
Use a timer or remote: To avoid a camera shake, use your smartphone’s timer when pressing the shutter button. You can also use a wireless remote. This will make sure your photos are sharp and focused.
The Rule of Thirds:
Imagine your frame split into nine equal sections. This is done by two horizontal and two vertical lines. The rule of thirds suggests placing your subject along these lines. Or, at their intersections. This creates a more balanced and pleasing composition. Many smartphone camera apps have a grid overlay option to help you apply this rule.
Leading Lines:
Leading lines are lines in your composition. They guide the viewer’s eye to the main subject. These can be actual lines like roads, fences, or edges of buildings or implied lines. Using leading lines can add depth and interest to your product photos.
Negative Space:
Negative space is the empty area. It is around your subject. It helps the product stand out. Use negative space in your compositions. It creates a clean, minimalist look. This look is both visually appealing and effective in highlighting your product.
Depth of Field:
The depth of field is the sharp distance range in a photo. A shallow depth blurs the background, highlighting the subject. You can easily do this with your smartphone. Use portrait mode or a third-party app. They let you control the aperture.
Adjust your camera settings:
Take time to explore your smartphone camera’s settings. Adjust them as needed. Look for options like exposure compensation. Also, look for options like white balance and ISO. Use them to fine-tune your shots.
Master these shooting techniques. Try different approaches. Then, you’ll capture great product photos. They will show your products in the best light.
Props and Styling:
Use props to tell a story about your product and connect with customers. Select items that match your product and brand style. For instance, for coffee mugs, consider using coffee beans, a grinder, or a French press.
Lifestyle Props: Create a scene to showcase your product using props. For example, if you’re selling a yoga mat, include a yoga block, water bottle, and towel.
Complementary Props: Pick props that match your product’s colors and textures. For example, with a wooden cutting board, use a chef’s knife, a bowl of fruit, or a linen napkin.
Minimalist Props: If you want a clean look, use few props or none.
Color: Use color to set a mood or trigger an emotion. For example, red and orange are warm colors. They can create excitement. Blue and green are cool colors. They can create calm.
Texture: Add texture to your photos for more interest. For a rustic look, use rough wood. For luxury, opt for smooth marble.
Styling is also important. Pay attention to the layout of products. Pay attention to prop placement and negative space. A well-styled photo can instantly make your product more appealing and desirable.
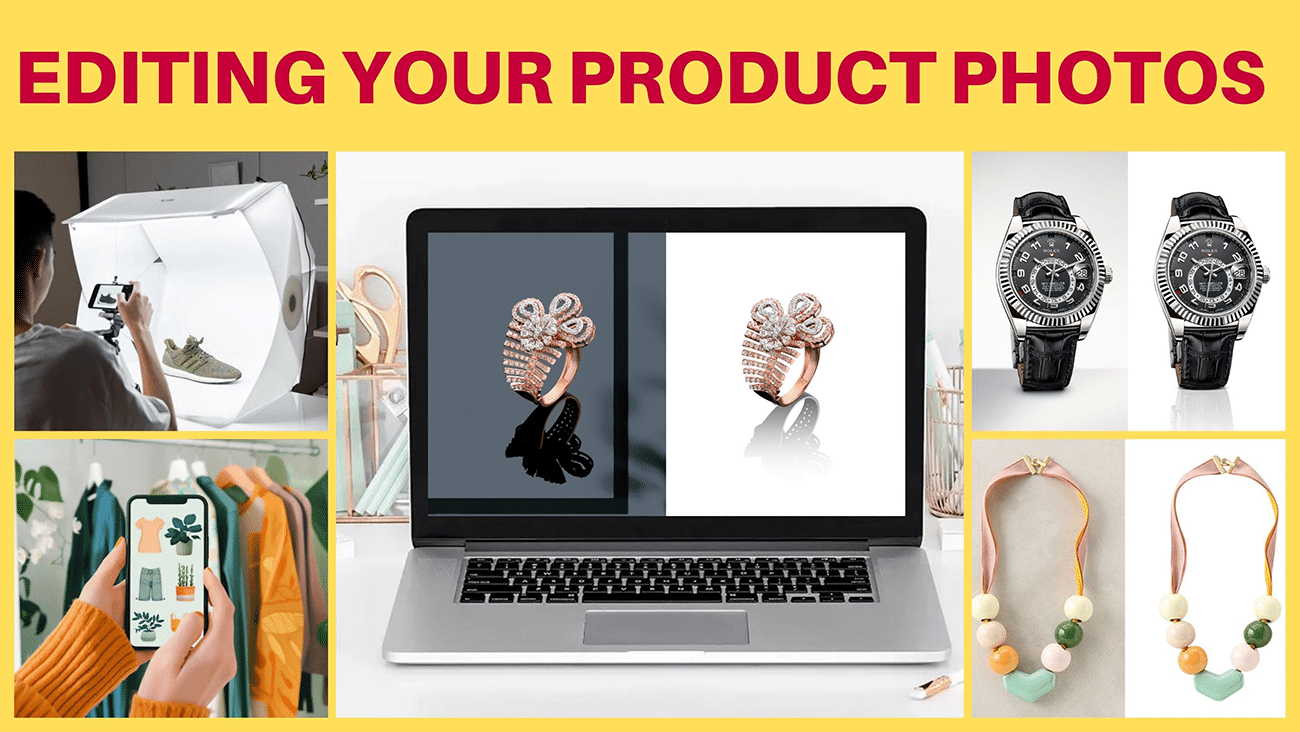
Editing Your Product Photos
After taking product photos, it’s time to edit. Many excellent apps on smartphones can help. Each one comes with unique features and abilities. Here are some of the best options for editing product photos:
Lightroom Mobile: Adobe’s Lightroom Mobile app is a strong photo editor. It offers various features to enhance your photos. You can use Lightroom Mobile to shoot in RAW. Also adjust exposure and white balance. You can apply presets and make precise edits to your photos. The app also offers advanced features. These include selective editing and masking. They make it easy to adjust specific areas of your photos.
Snapseed: Snapseed is an app. It is for editing photos. It is free. Google developed it. It offers many editing tools and filters. Snapseed. You can adjust exposure, contrast, and color. And apply filters and textures. You can make precise edits using tools like the healing brush and selective adjust. The app also has advanced features. These include double exposure and HDR merge. They make it a great choice for creative editing.
VSCO is a popular photo editing app: VSCO provides presets that mimic film. Users can easily apply stylish filters and presets. They can also adjust exposure and color. And, you can make precise edits using tools like the curves and HSL sliders. The app also has a lively community of photographers. They share their work and inspire others.
Photoshop Express: Adobe’s Photoshop Express app is simpler. It is simpler than desktop Photoshop. It offers tools for editing and improving photos. For instance, you can adjust exposure and color. You can apply filters and overlays. You can make precise edits using tools like the selection brush and spot healing tool. The app also has advanced features. These include double exposure and collage creation.
When editing product photos, aim to improve their look and feel. Adjust exposure and color to make the product stand out. Crop and straighten your photos to look professional. Consider adding filters or presets to give your photos a consistent style. Remember to save your edited photos in high-resolution format for best results.
Professional Photo Editing Services
Consider using pros if you don’t have the time or skills to edit your photos. You can use our company, “Clipping Path King,” for services that can remove backgrounds, fix flaws, and improve your images to make them look their best. Prices vary based on the required editing complexity. However, it can be a good investment for e-commerce businesses that need high-quality product photos.
Clipping Path King offers photo editing services, including background removal, image masking, and color correction. Our team of experienced editors can work quickly and efficiently to improve your product photos. It’s a top provider of professional photo editing.
When choosing a pro photo editing service, look for one that offers top-notch work. Also, they should have fast turnarounds and good prices. Be clear in your instructions and examples of the look you want. Work closely with your editor to make sure your photos meet your expectations.
Conclusion
Follow these steps. Use the right accessories. Then, you can take stunning product photos with your smartphone. These photos will help your e-commerce business succeed. Remember to experiment, practice, and have fun with the process. With creativity and editing, you can get pro results using only your smartphone.
If you need more help, consider using pro photo editing. It can take your images to the next level. With the right tools and techniques, you can take product photos. They will show your products in the best light and boost your sales.
So what are you waiting for? Start taking great product photos with your smartphone today, and watch your business grow!


