
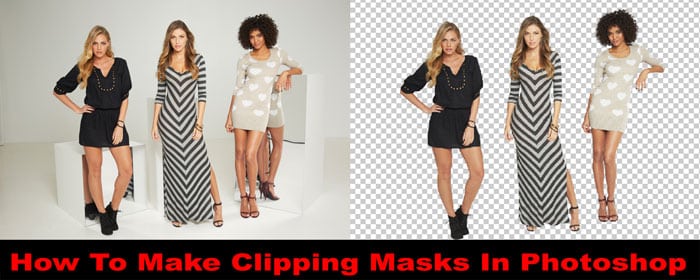
What is Photoshop Image Clipping Mask:
A clipping mask is an object whose shape masks other artwork so that only areas that lie within the shape are visible—in effect, clipping the artwork to the shape of the mask. The clipping mask and the objects that are masked are called clipping sets. You can make a clipping set from a selection of two or more objects or from all objects in a group or layer.
Clipping masks in graphic design are key for precise image transformations, especially for removing backgrounds like hair or hazy areas. They are used with clipping paths for complex images that require clarity between the image and background, particularly for objects like hair, wool, or transparent items such as glasses or smoke. Clipping masks effectively separate objects from images, although mastering the process can be challenging.
Types of Photo Clipping Mask:
-
Layer Mask
-
Alpha Mask
-
Channel Mask
Here we discuss the process of Layer Mask, and gradually, the following method is given below:
- Open an image in Photoshop that you want to use for your clipping path. So go to the File menu in Photoshop, select the open as and click there you will see an open dialogue box. Then, choose the file and click open.

- Now select the path by pressing Ctrl+Path 1. Must be noticed that the path shape is entire of the hair. Then pressure Ctrl+Alt+D for feather 0.5

- Ctrl+J button for a new Layer 1 and create Layer 2 keeping selection at the Background. And press Ctrl+Backspace for showing Layer 2 in the white background keeping the color box black is in up and white is in down.

- Now close the eye of Layer 1 and Layer 2. Then select the Lasso Tool from the toolbox. See in the below picture:

- Drag the tool around the Model’s hair.

- Then create Layer 3 keeping selection in Background which is under beneath Layer 1. And open the eye of Layer 1 and Layer 2.

- Select now the Background Eraser Tool from the toolbox.

- Fill up the “Background Eraser Tool” requirements.
![]()
- Erase the image background just like the bellow image.

- After erasing the background the image looks like the given image.

- Click in the adjustment layer and you show the Curves. Then click on the curves and fill the curves box.

- The Curves image looks the same as the below the under beneath image.

- Select then the Eraser Tool and select the 46 no. Brush Size.

- Then erase the dust around the Model’s hair selecting Layer 3 as the image.

- In conclusion, after removing dust the curves layer would be deleted. And the image is Ok.

Check on different background colors
- To examine how it looks on different background colors if dust appears or not. Given image looks so pretty and it’s ok now.


- Now, it is time to save the final image. Look how I have saved the image.
