
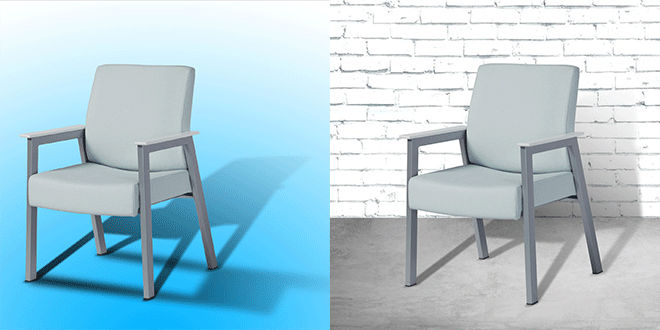
Drop Shadow holds much significance when it comes to selling things on online portals. Shadows can make or break the success of your ecommerce websites and they make them look professional and attractive. With the help of Photoshop, you can create nice images by using necessary lighting equipment and editing the images in post production phase.
To create photographs in the right settings, it is also important to add shadows afterwards. Shadows make the images pop out from the background so check out the whole process here.
What we’ll cover:
How to Create a Shadow in Photoshop?
Separate the object from its background
Create a new background
Create Drop shadow
Use of Drop shadow in eCommerce
How to Create a Shadow in Photoshop?
Shadows are of two types i.e. form shadows and cast shadows which are added on the objects. Cast shadow is found around an object which is placed on the floor, and form shadow is a shadow that appears within the object itself. For your information, cast shadows gets lighter when they go far from the object. Before we get started, let me tell you that you need to have some knowledge about the gradient tool, blurs, alpha channels, transform tools, and layer masks.
Tutorial: How to Create Realistic Drop Shadows using Photoshop
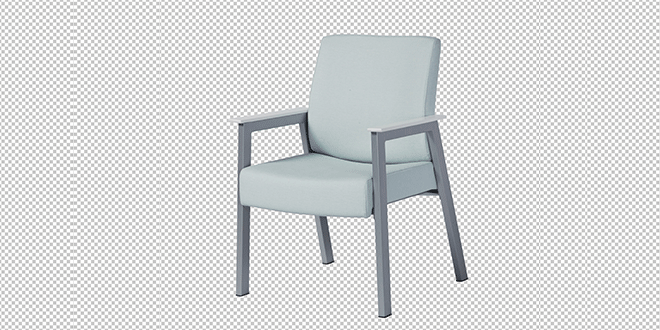
1. Separate the object from its background
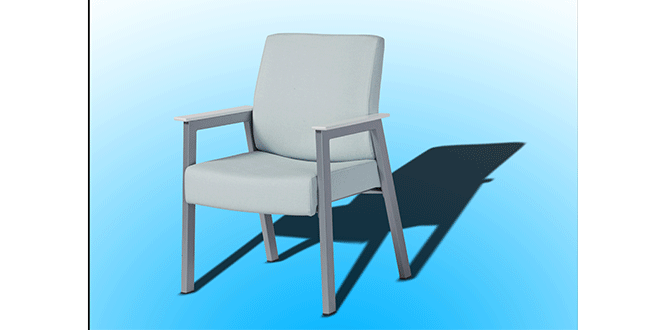
To start with, open any image in Photoshop that you want to add shadow on. Go to layers palette and cut the object using magic wand or pen tool or background eraser tool. Now place the object on a new layer and give it a new name.

Separate the object from its background.
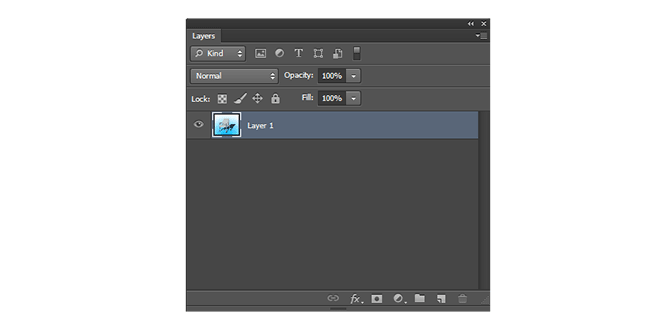
You can name it “isolated” to make the whole process easy. Now, make the background layer invisible as you click on the eye icon located right next to your background layer.
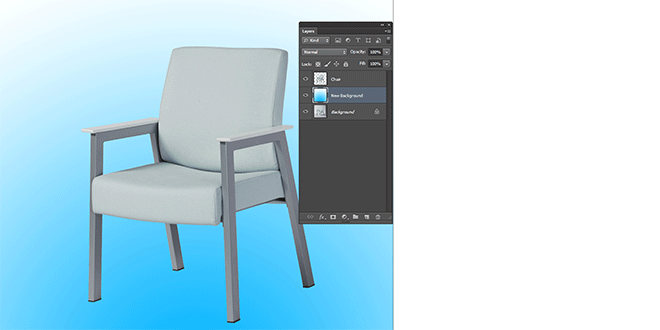
2. Create a new background
Now, go to layers palette and select hidden layer. Go to Layer> New layer to create a new layer. This new layer will be the new background layer which you have to fill. For that, go to Edit> Fill and choose a color from the drop down menu.
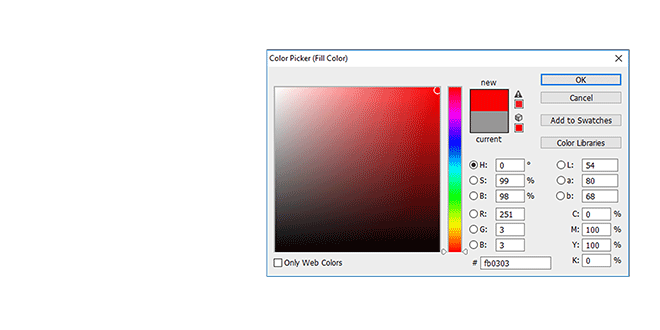
3. Choose the cast shadow color
At this step, it is important to choose a color of the cast shadow. Find a form shadow within the object and select its color using eye dropper tool. This color will be seen as the foreground color at the bottom of tools palette. Now double click on the foreground color and you will see a color picker adjustment dialog box. Here you have to make sure that you adjust the selected color on a darker side and less saturated. Move the selection down and left of the color field. Press OK.

cast shadow color
4. Create a Drop shadow
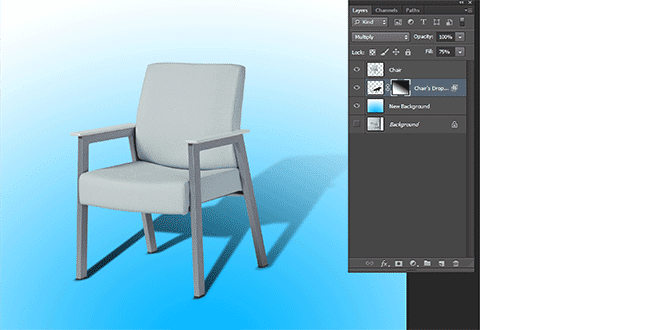
At the bottom of the layers palette, click on the fx button and select drop shadow. Make sure the isolated object layer is selected to do these settings.
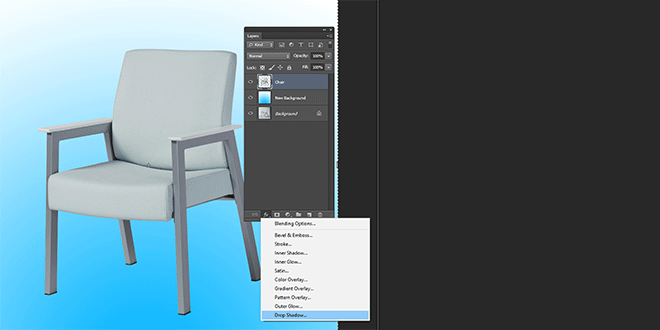
Create Drop shadow
When you click on fx button, you will see a dialog box. Now here you have to create a drop shadow and set the shadow color to foreground color. Work on the opacity, size level, and spread to make sure the shadow looks completely natural and not made up. Once when you are done with all these settings, click OK.
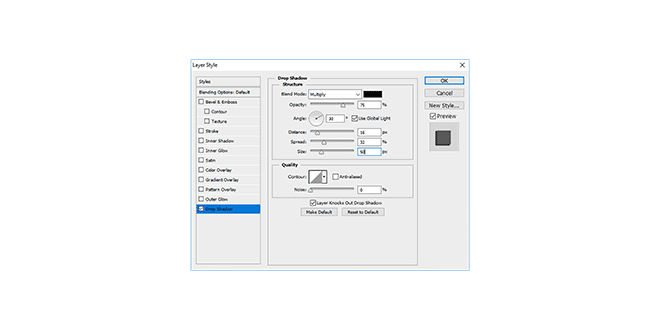
Create Drop shadow
5. Create layer from drop shadow
It’s the time to go to Layer> Layer Style> Create layer. This will help separate the drop shadow from its layer. Here you can modify the shadow without doing anything with the object.
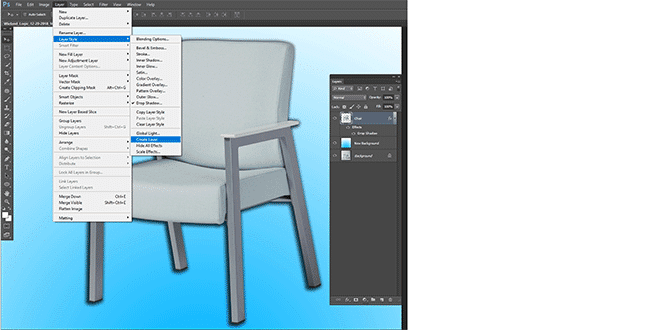
Create layer from drop shadow
6. Distort the shadow
Select the new drop shadow layer in the layer palette. Go to Edit>Transform and distort the shadow to pull the shadow down to the floor.
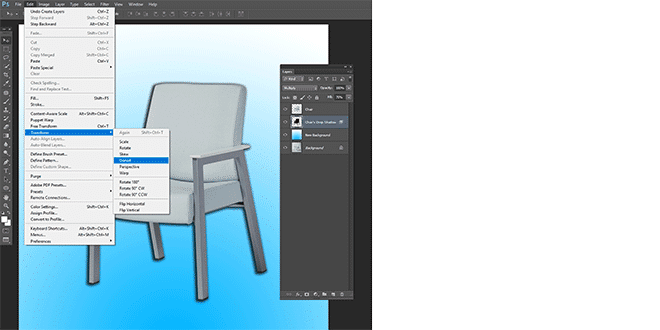
Distort the shadow
the drop shadow
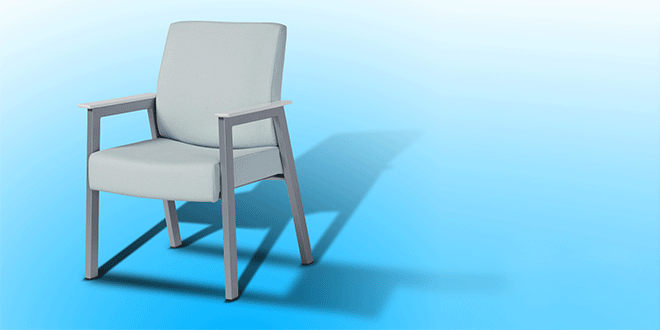
To make sure the shadow falls naturally and look realistic and at a proper distance, set the blending mode of the shadow layer to Normal and keep the fill to 100%.
Create a selection around the shadow area with rectangular marquee tool and go to Edit>Transform>Distort. It will help you to edit that particular portion of the shadow.
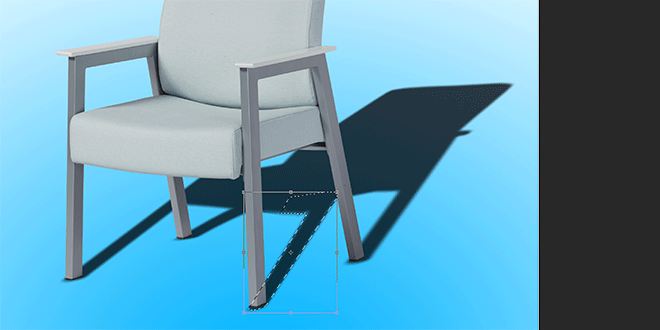
Are you satisfied with the changes? Apply the transformation and using the paintbrush and eraser tool, you should fix the edges of the shadows to make the shadow look natural. Change the blend mode to multiply and reduce the fill back to 75%.
7. Create alpha channel
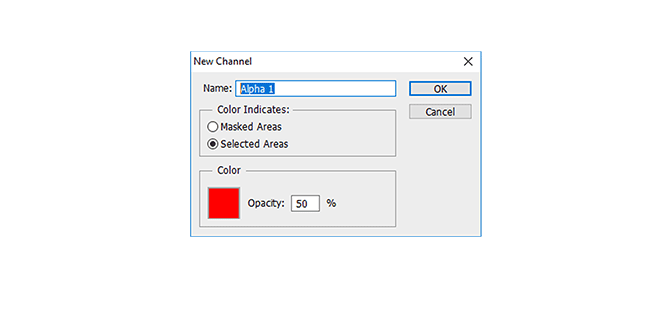
Ok, so now you are done with the shadow creation. Well, the shadow looks great and real but in real life, the shadows begin to become blurry and lighter when they go far from the object. To achieve that effect, alpha channel comes in handy. By using alpha channels, you can get that blurry and lighten effect which makes the shadow look absolutely natural and not Photoshopped. Go to Window>Channels and open the channels palette. Select new channel from there and a dialog box will appear.
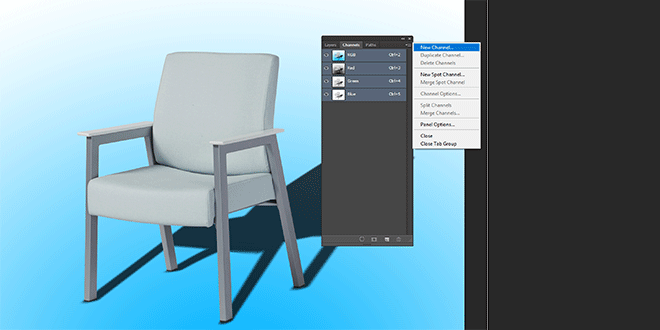
Name it Alpha 1 and see if the selected area radio button is chosen under color indicates.
8. Create gradient within your alpha channel
Select new alpha 1 channel in channels palette the way you select a layer. Check whether the eye icon is on for all channels. Now pick the gradient tool from tools palette and set the foreground color to black and background to white. Next, check the gradient tool is set to black-to-white and type is linear in the options palette at the top of your work window.
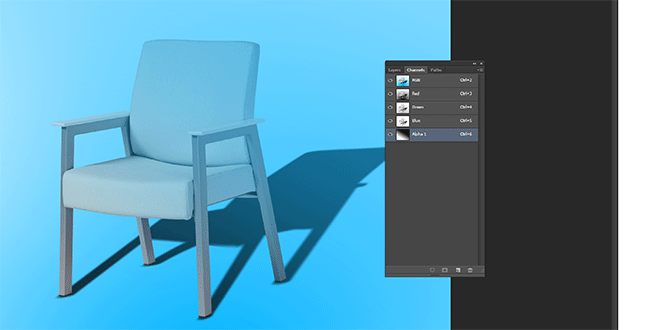
Set the cursor at the farthest point of shadow and draw the gradient. Make sure that the gradient is drawn towards the part of the shadow close to the object. You will see the selection as red gradient overlaying the picture.
9.Blur the selection
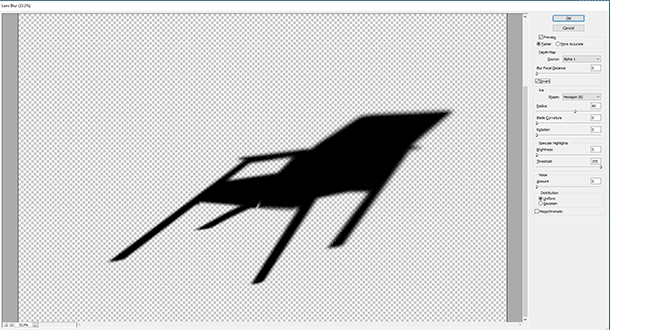
As you can see a red gradient on the image, toggle off the eye icon of Alpha 1 layer. It will not distract you. Click on the top channel in channels palette and select the color channels. Here, deselect the alpha channel and go to Layers palette to ensure the drop shadow layer is selected. Navigate to Filter>Blur>Lens Blur and you will see a dialog box where you can control the blur options.
Blur the selection
Here, check the preview box and select alpha 1 under depth map from the source drop down menu. Set the blur focal distance at 0 and check the invert box. Slide the radius to high number and let the other values at default. Click Ok.
10. Create layer mask
Head to Select>Load selection and choose alpha 1 from the channel drop down option. Check the new selection radio button. Press Ok. When you click ok, you will see a selection of the darkest area of the gradient created in alpha channel. Now go to Select>Select Inverse.
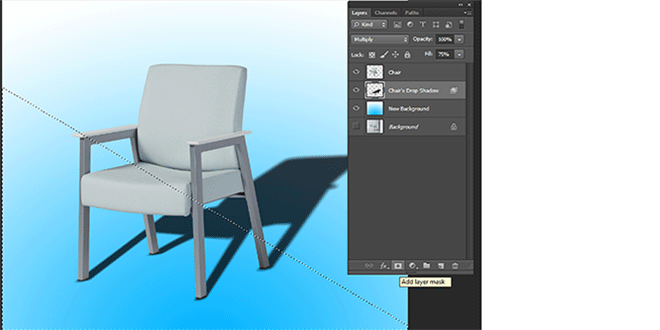
Next, click on the layer mask icon in your layers palette at the bottom of the palette. Now when the mask is applied, you will see the shadow appear to fade when it goes at a distance.
Create layer mask
11. Clean the shadows
Now you are all done with the shadow creation. It is the time to clean the shadows that appear on the object which doesn’t look good. Pick eraser tool and clean the shadow you think are making the image look bad.
Use of Drop shadow in eCommerce
Well, eCommerce sector is quite an advanced level sector in which there are a variety of products and things to sell. When it comes to online selling, the major thing to consider is the way how the images look. Since people get attracted towards beautiful and realistic product images, it is your duty to show them exactly what they want to see.
Having stunning product imagery help the buyers and sellers to connect with each other on a better level and with the help of Photoshop shadow creation method, it is easy to create natural shadows which make the products pop out. Also, drop shadow makes the images commendable and incredibly good to tempt the viewers. Especially if you are showcasing the products against white backgrounds, drop shadow will definitely going to do wonders for your product images. To achieve that desired and professional look, consider this amazing Photoshop technique which will help you drive more sales and earn more revenues.
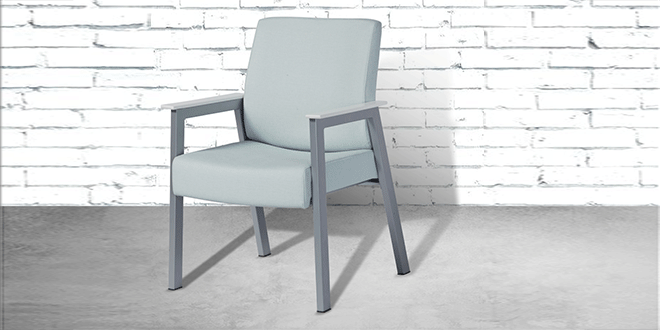
Whether it is furniture, apparels, or fashion accessories, shadow creation is an ultimate method to add dimension to the images and uplift their overall appearance.