
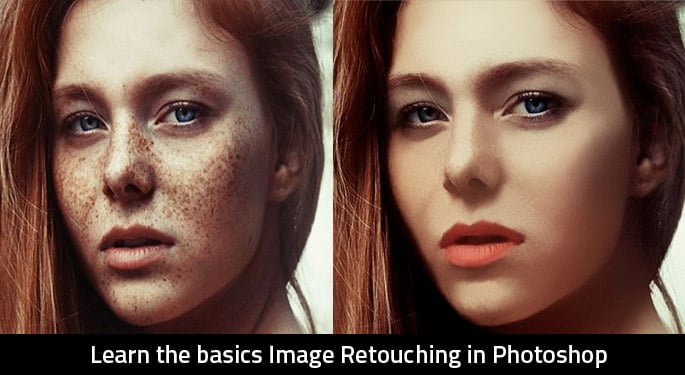
Image retouching prepares an image for its final presentation. This involves using different methods to achieve the desired look. In this tutorial, we will use Photoshop CS3 to make a model’s face look smooth and even without any blemishes or shadows.
Tutorials for Basics Image Retouching
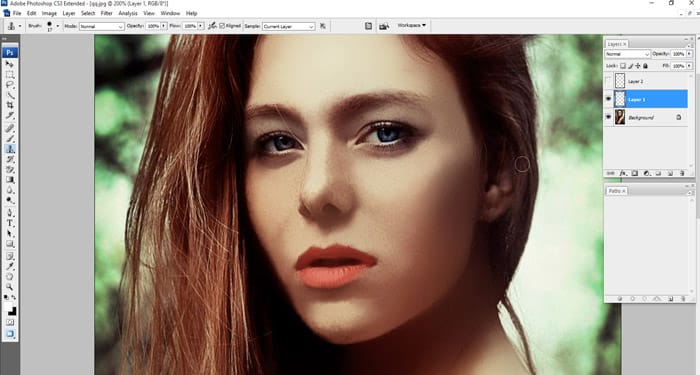
Create a layer by clicking on the second-last icon and retouching the second transparent layer so that the image remains untouched.
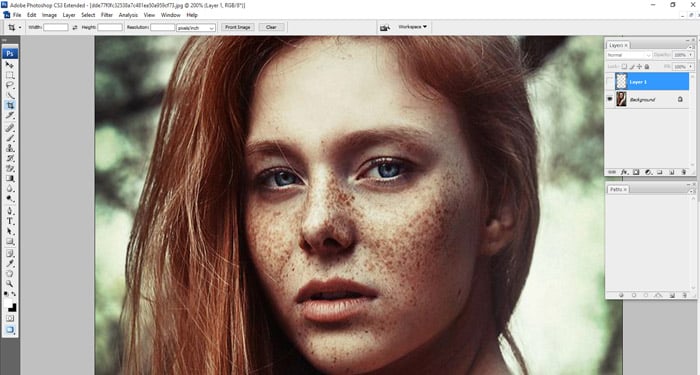
Now, create another layer for lightness retouching. If you are experienced, you can still do this on the original image but do not if you are a beginner.
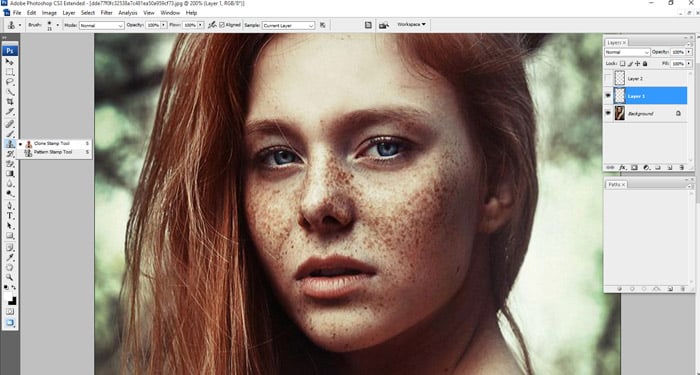
You can now select the clone stamp tool, press alt, click nearest to the skin close to the spot area you want to remove, release alt, click on one spot area, and drag the mouse over the whole spot area until it’s clear.
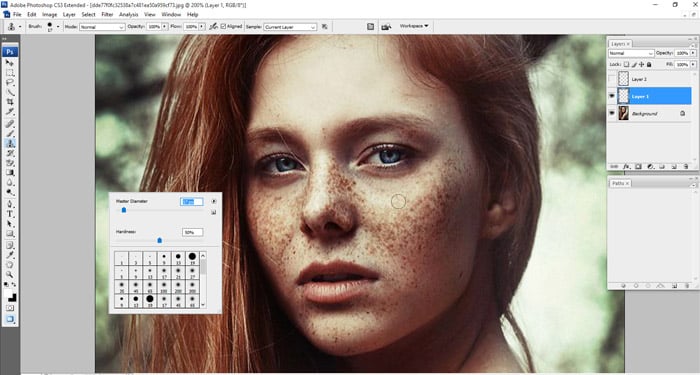
Before retouching the image, check the image’s quality and select tools in the opacity option. You can increase or decrease the degrees of different options by using the clone stamp tool until you get your desired image quality.
In the screenshots below, you will notice that you can make a better image by using your tools well and not excessively.
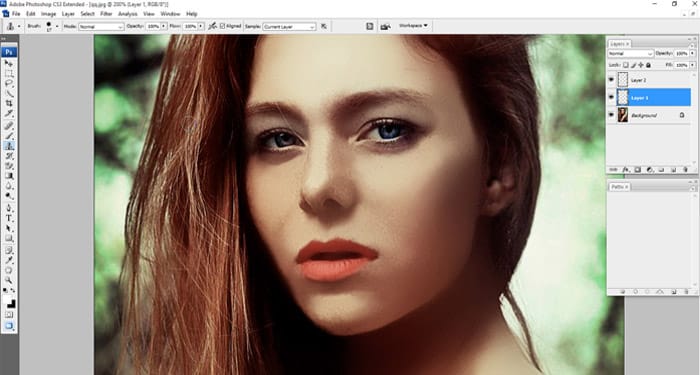
Please clean up the light using the same retouching procedure, then save your image and edit it later. The tutorial is easy to follow and provides an amazing photo touch-up without having to hustle.