
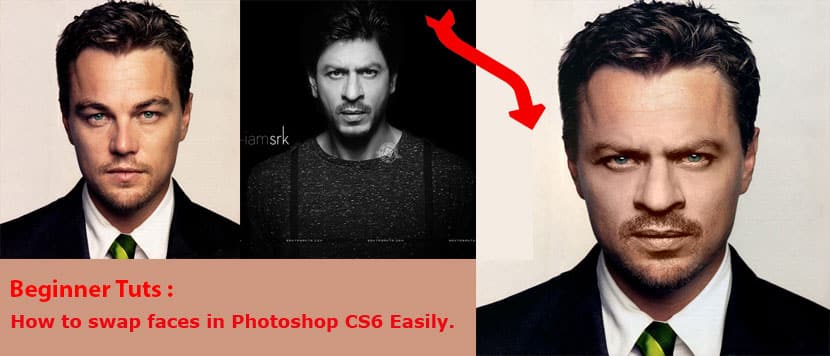
Many people have likely heard of face-swapping with smartphone apps for fun. There are various apps available on the Play Store such as Hiface, Golden Ratio Face, and Face Editor. However, it may come as a surprise that you can also swap faces in Photoshop.
You can have fun swapping faces with someone else and try out new looks. Creativity can invent new subjects by combining faces and bodies that do not exist in reality. It is a powerful tool that can unlock a world of opportunities. See how easy it is.
How to Swap Faces Using Adobe Photoshop ?
Photoshop face swap or copy-paste faces is what is typically used in Photoshop. Near to each magazine cowl or each movie-picture show poster that you see has a head or face replaced. There are many ways to exchange a face swap in Photoshop. The only technique is to use the Auto-Blend Layers function to face swap in Photoshop.
For swapping faces, the Auto-Blend Layers function would not seamlessly and effortlessly mix a face with a body. You will be ready to swap faces in Photoshop between two faces with completely different skin tones. This can solely take a couple of clicks.
Face swap in Photoshop is a fun technique. We are ready to place a face on a unique body by following simple tasks. You can impress your friends with your new Photoshop skills. Now get ready your eyes to the step-by-step methods in below:
Photoshop face swap techniques are Bellow step by step :
You can watch my video to learn the face-swapping techniques in Photoshop. I am sure that you will be able to realize the techniques easily.
How do you make a Face Swap in Photoshop?
Photoshop allows face swapping with the object selection tools. You can use it to swap an individual part of your body, like a nose, an eye, or your head, or an entire face. In this tutorial, we will show you how to swap an entire face.
Step 1:Preparing Your Images.
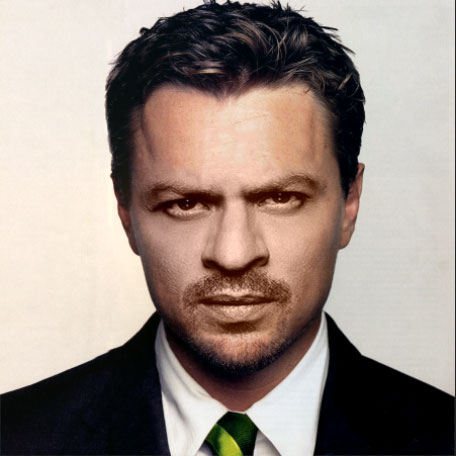
Choosing the right images is important for a successful swap face in Photoshop. Ideally, select photos where the faces are similar and at the same angle. This makes the swapping process much smoother and the results more natural. Ensure that the images are of high quality to avoid pixelation and other issues. For that, you can use raw format, jpg, or png, which are the ideal formats for face swapping in Photoshop.
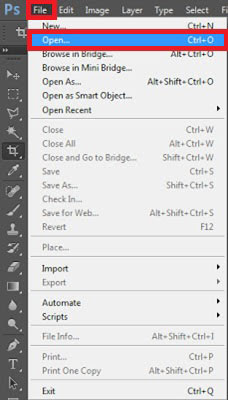
Step 2:Open your image files in Photoshop.
Start Photoshop, Go to the file, and Open the menu to open the images you want to face swap in Photoshop.
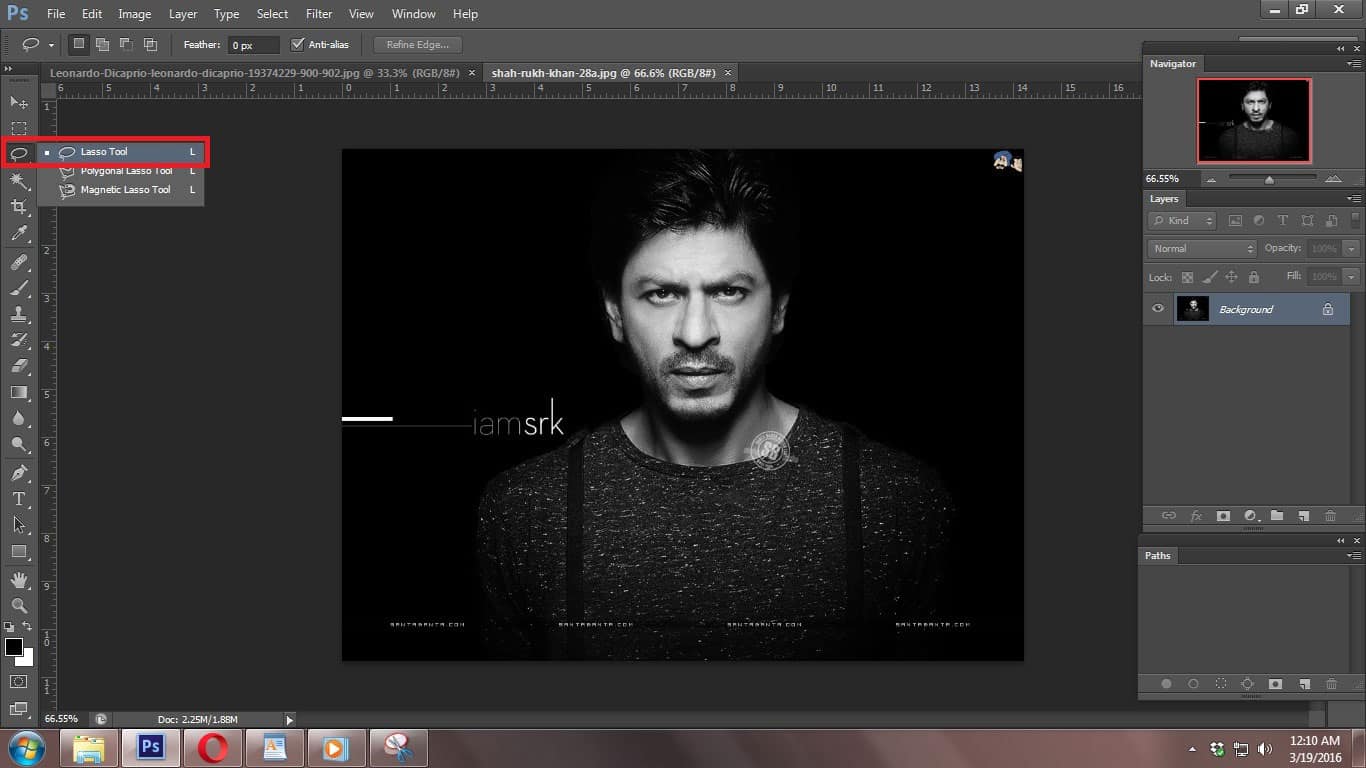
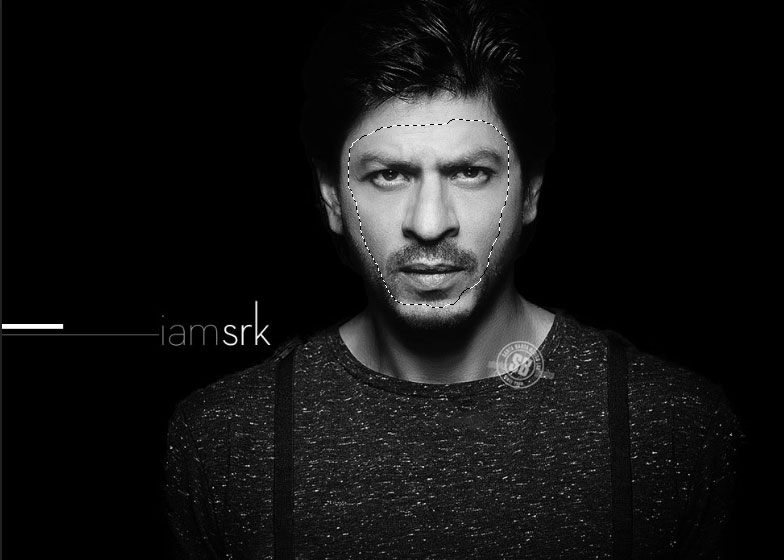
Step 3:Select the Portion face you want in the final photo
Then, go to the image you wish to cut and select the Lasso Tool from the toolbox ( press “L” on the keyboard or select it from the tool menu).
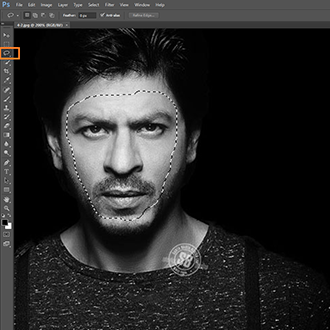
Next, start cutting the face. Select carefully around the nose, eyebrows, and lips. It is best to select only the most highlighted parts of the face to swap faces with a more natural outcome.
Step 4: Copy the image face Portion you want to swap faces in the final photo
Select the new Layer you have cut out for the swap face or face combine portion to contain, and Click CTRL+C (or COMMAND+C for Mac users) to copy the selection. Must you need to confirm the dotted line is still flashing.
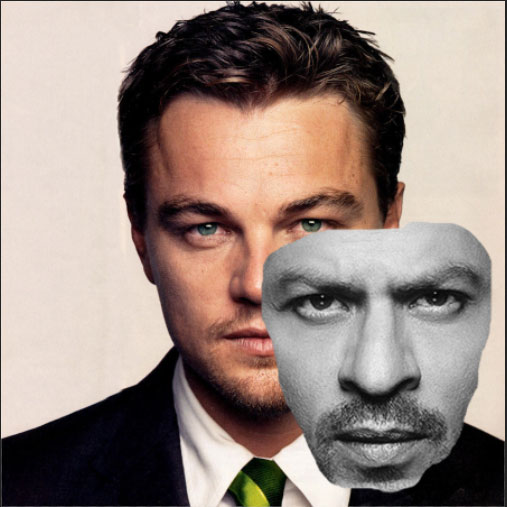
Step 5: Paste the image portions that you can face swap
Afterward, go to the main image you want to make, swap the face with the cutting face, and select the layer. Then press “ctrl+V” (COMMAND+V on Mac) to paste the copied face Portions to the photo and paste it over the image you want to replace. To deselect the face and remove the flashing line, press CTRL+D (COMMAND+D for Mac users).
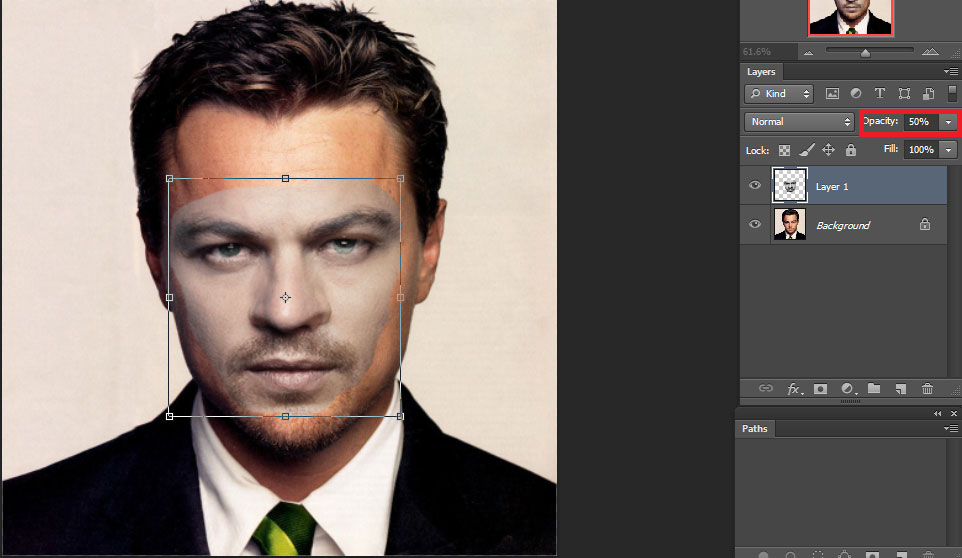
Step 6: Resize the Photo
After that, you must keep the Opacity below 50% for proper viewing and press “ctrl + T” (COMMAND+T for Mac) for a free transform. Then, try to match the face until it is properly adjusted.
Hold the Shift key to adjust the face properly, click the box, and drag. If you need to move, rotate the face-cutting part. This will give you rotation toggles that allow you to move the image.
When you confirm the placement, press “Enter.” If you don’t press “Enter” when you finish, all of your hard work will be lost. So it is very important to Press Enter to finalize. After that, adjust the layer opacity again to 100%.
Step 7: Copy the Image background layer.
The next stage is to duplicate the Photo “Background Layer.” Select the Background Layer from the Layer Tools Box. Select Duplicate Layer by right-clicking with the mouse or pressing CTRL+J (COMMAND+J on Mac), or by keyboard shortcut pressing CTRL+J.
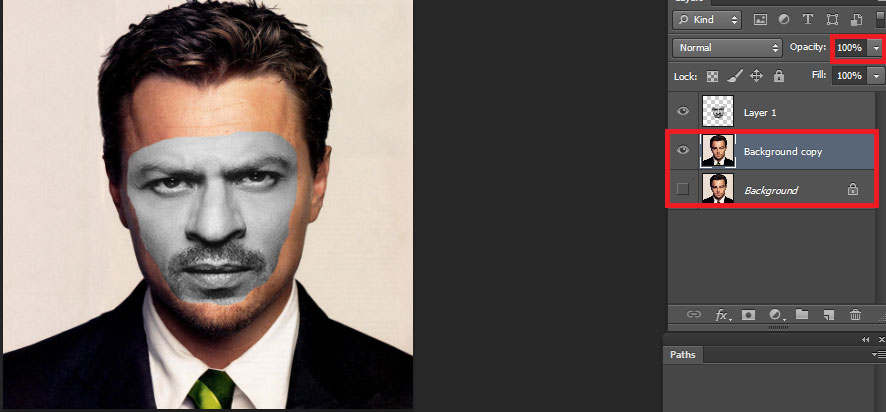
Step 8: Create a clipping mask.
Then, Press CTRL (COMMAND on Mac) when clicking on the face layer thumbnail. This will select the shape of the face on all layers and close the original “Background Layer” by clicking on the Visibility Eye to hide the layer.
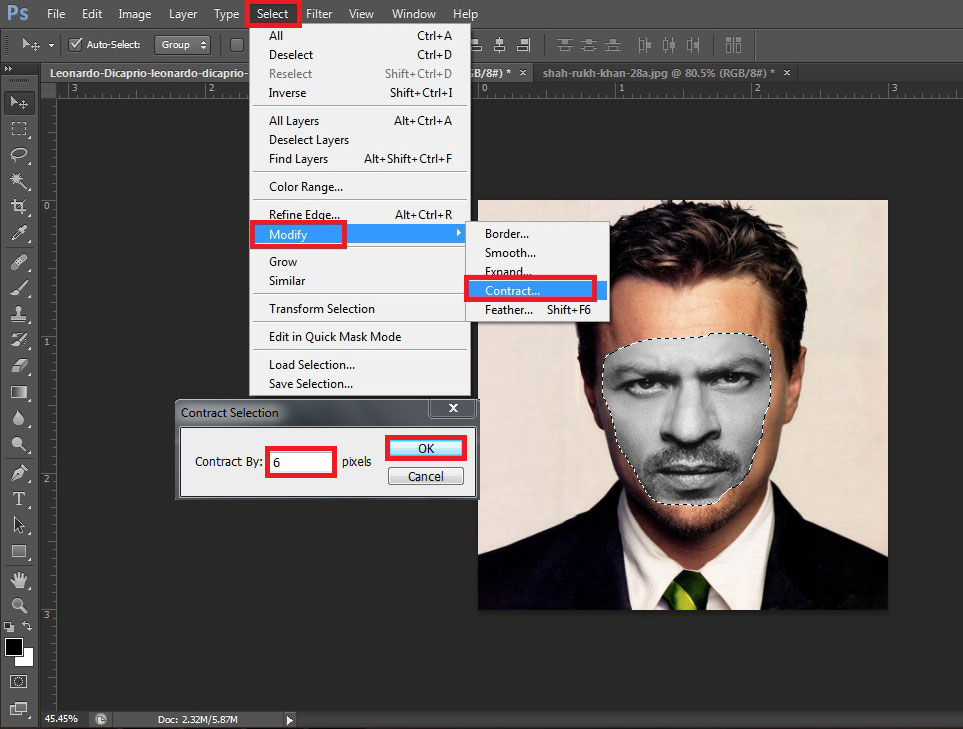
Step 9: Create a slight overlap of the face with the body.
Select “Layer 1” by pressing ctrl+Layer 1 and go to the “Select menu” above. You will find there “Modify” and click the “Contract ” inside the “Modify Option”. Keep the Contractor within 5-10 pixels This will shrink the clipping mask by 6-10 pixels, which will help overlap the face with the body by a few pixels. Press CTRL (COMMAND on Mac) while clicking the thumbnail of the face layer. This will select the shape of the face on all layers.
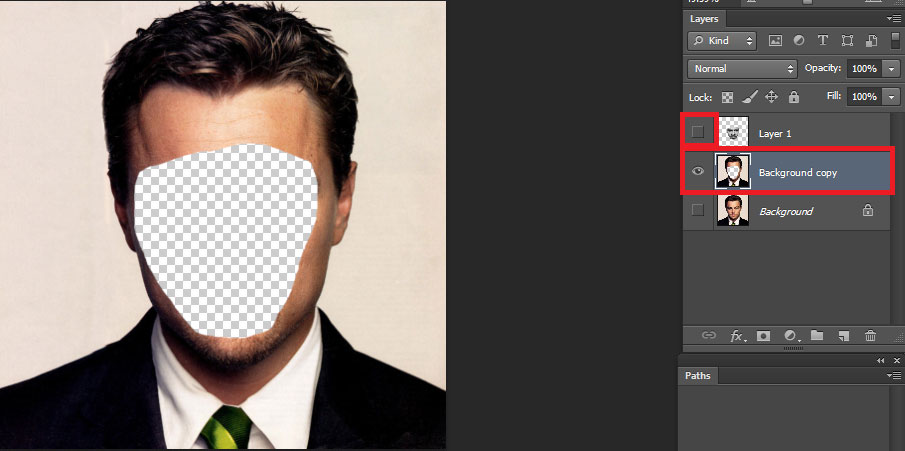
Step 10: Delete the face from the body layer
Then select “Background Copy” and press “Backspace” or “Delete” on the keyboard to remove the beneath area of the face or transparent the adjusted face. Close the “layer 1” eye to view the transparent look on the face. Press CTRL+D (COMMAND+D on Mac) to deselect the selection area.
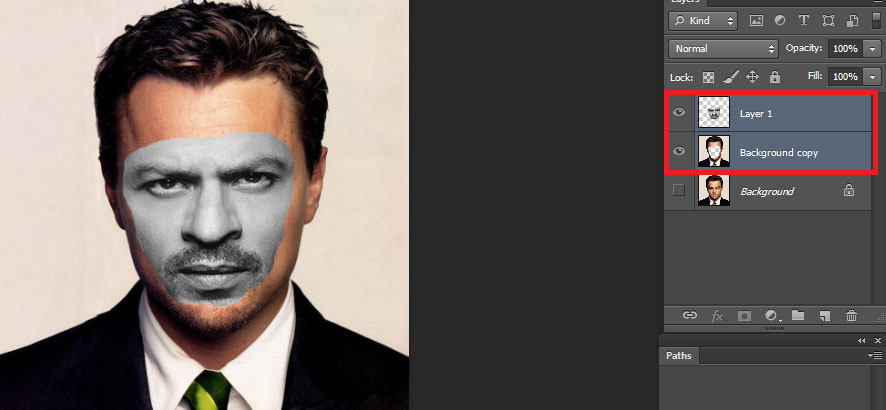
Step 11: Select the face and body layers
You can select the selection by pressing Ctrl+D and Selecting “layer 1″( Face Layer) and “Background Copy”(Body layer) together by holding Ctrl.
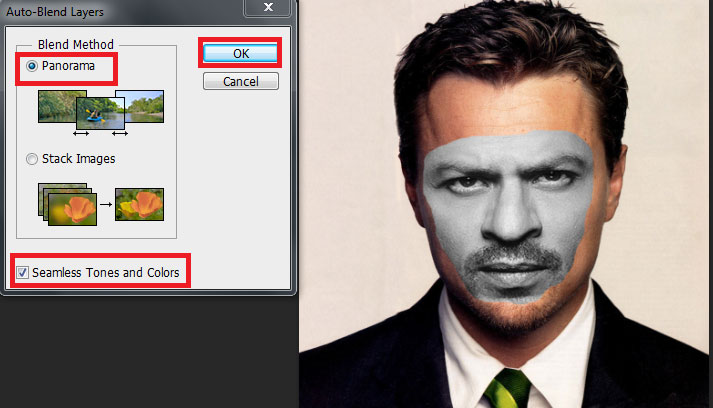
Step 12: Select Auto-Blend Layers
Go to the “Edit menu” and click “Auto-Blend Layers“.
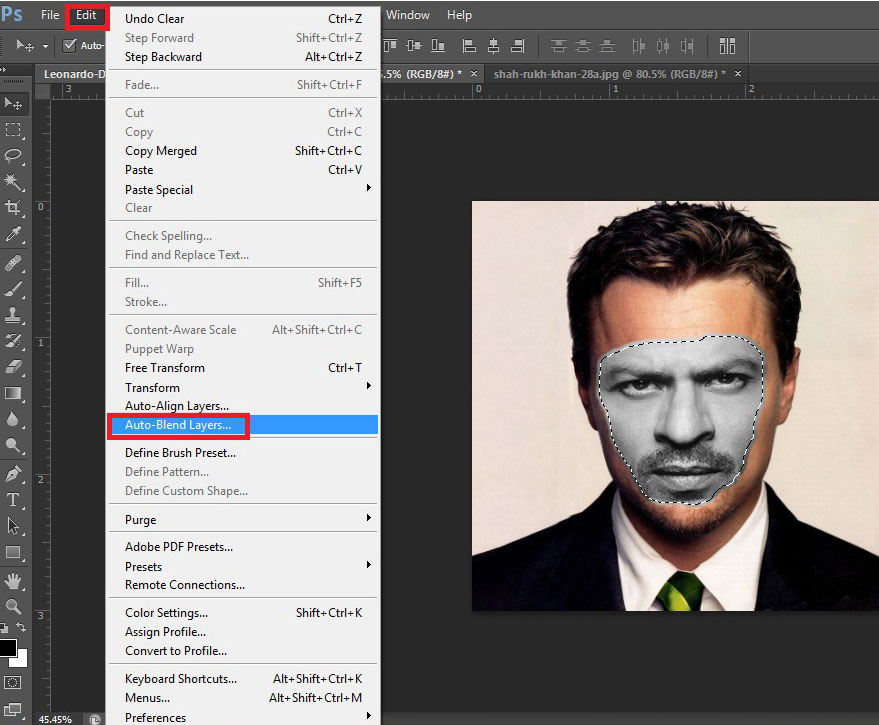
You can see a box and make sure that “Panorama” & “Seamless Tones and colors” are selected in the box as in the bellow picture. Then click “OK button”.
Step 13: Fine-Tune the Blend
After Auto-Blend, look closely at the result. Make any needed adjustments. You can use the Eraser tool to refine edges. Use the Healing Brush to blend skin tones. Use the Liquify tool to adjust face position.
Step 14: Match Colors and Tones
To ensure seamless integration, use the Color Match feature to adjust the colors and tones of the swapped face to better match the body. Go to Image > Adjustments > Match Color and experiment with the settings until the face blends in perfectly.
Step 15: Add Shadows and Highlights
Add a new layer above the face layer. Use the Brush tool with a soft, low-opacity setting to paint in faint shadows and highlights around the edges of the face. This will help it integrate more naturally with the body.
Step 16: Final Touches
Complete your face swap with final tasks like blending hair, whitening teeth, or adjusting contrast and sharpness. The aim? Achieve a seamless, natural look by merging the new face onto the body.
The final editing is now visible to you on the screen.
Face swap using Layer Masks
Another way to swap faces in Photoshop is layer mask functions. It’s another easy process of face-swapping. Let’s learn how to face swap in Photoshop using the layer mask function:
Prepare Your Images for Swap Face
- First, open two images in Photoshop. One should have the desired body, and the other should have the face to swap in. Then, ensure both faces have similar lighting, angles, and scales. This step is crucial for a seamless blend.
- Choose a face for swapping. Use tools like the Lasso, Quick Select, or Magic Wand. Aim for accuracy. Select the entire face, including the hairline and neck.
- Copy and paste the selected face onto the body image as a new layer. This will create a floating face layer on top of the body layer.
Position and Resize the Face
- Resize and position the face layer roughly where you want it to go on the body. Use the Free Transform tool (Ctrl/Cmd + T) to adjust the size and orientation as needed.
- Duplicate the background layer to work on a copy and preserve the original image. This will give you more flexibility to make changes without affecting the base photo.
Create the Layer Mask
- Click the layer mask icon at the bottom of the Layers panel. This action creates a mask on the face layer. Now, you can show or hide specific parts of the face layer.
- Use a black brush on the mask. Use it to erase parts of the face layer. This will reveal the body layer underneath. Start with the edges of the face and carefully paint outward to blend the two layers together.
- Adjust the brush size and opacity as needed to get a smooth, natural-looking transition between the face and body. Zoom in closely to ensure you’re getting the details right.
Refine the Blend
- Apply the Blur tool to soften the face layer and merge it with body. Adjust the brush size and strength as needed.
- Make any final touch-ups. These include color matching, hair blending, and adjusting shadows and highlights. They make the face integration look real.
With the few simple steps you can seamlessly swap one face onto another body in Photoshop using layer masks,. This technique is very versatile. It can edit many types of photos. These range from product shots to creative composites.
Common Issues and Troubleshooting
Face swapping can sometimes be tricky. Don’t panic if you face lighting, alignment, or color issues. Instead, use the Clone Stamp Tool and Adjustment Layers to fix them. Keep practicing until you succeed.
Tips for Professional-Looking Edits
To make your edits look professional, pay attention to the details. Use high-resolution images to avoid pixelation. And Practice regularly
Conclusion
Swapping faces in Photoshop is fun and rewarding. With practice, you can make swaps that look realistic. You might fix an unflattering expression or create a funny photo. Also, it’s handy for product shots. Key factors are good lighting, angles, and blending. Practice makes perfect. You’ll soon impress friends, clients, and followers with your realistic swaps.
FAQ:
How to do a face swap in Photoshop?
How do I edit my face in Photoshop?
Where are the face editing tools in Photoshop?
Photoshop has a wide range of face editing tools located primarily in the Toolbar. The Liquify Tool, found under the Filter menu, is particularly useful for facial adjustments. Explore these tools. Practice using them. This will make you skilled in face editing.
How do I change my skin in Photoshop?
Can I swap faces on my smartphone?
Yes, you can swap faces on a smartphone using those apps:
Reface: Realistic swaps in photos & videos, plus fun templates.
Face Swap Live: Swap faces live with friends or from your gallery.
FaceApp: Face swapping plus the viral aging filter.
How do you photoshop a person into a picture?
To Photoshop someone into a picture:
- Open both images in Photoshop.
- Select the person using a selection tool.
- Copy (Ctrl/Cmd+C) and paste (Ctrl/Cmd+V) the person onto the target image.
- Position and resize the person using the Move and Free Transform tools.
- Refine edges and adjust lighting/colors as needed for a seamless blend.
For face swapping:
- Follow steps 1-3 above.
- Align the face with the existing face in the target image.
- Blend the skin tones and refine the edges for a natural look.
- Adjust the color and lighting of the swapped face to match the target image.