
Interior photography is difficult because it requires artistic and technical skills. Becoming a professional interior photographer can be financially rewarding, but it requires careful consideration of many factors to achieve great results.
Interior photography is quite distinct from nature and portrait photography. It requires careful attention to detail to effectively capture the beauty of every small space with your photography skills. Some interior photography tips are divided into three stages: preparation, shooting, and editing.
Preparation Stage
Have a look at the surroundings:
Start by exploring the area where you plan to shoot. Look for potential angles, unique features to include, or anything that could catch someone’s eye.
Set the Space:
Study the space in detail. You cannot afford to have damages, clutter, or broken spaces in your interior photography. You must show the best side of everything, so focus on and remove such areas. To add a more aesthetic appearance and charm, you can add some props or objects that can beautifully fit in the area.
Lighting for Interior Photography:
Perhaps one of the most significant factors to consider is lighting. For interior photography, the light should pop the area out to attract viewers’ eyes. Go for natural light if possible, and if not, try adding reflectors or diffusers to get astonishing photography. Ideal lighting is great for crisp and clear photos.

Shoot Stage
Right Light:
When taking photos in low light, use long exposure and low ISO settings to reduce noise and achieve a professional, clear look. Adding natural and soft lighting will enhance the images further.
Glare Alert:
No one wants to see glary pictures, so beware!! Don’t let any undesired shine or glare come into the pictures from tiles, glass, or marble. For this, you can choose the angle of reflection in the editing phase.
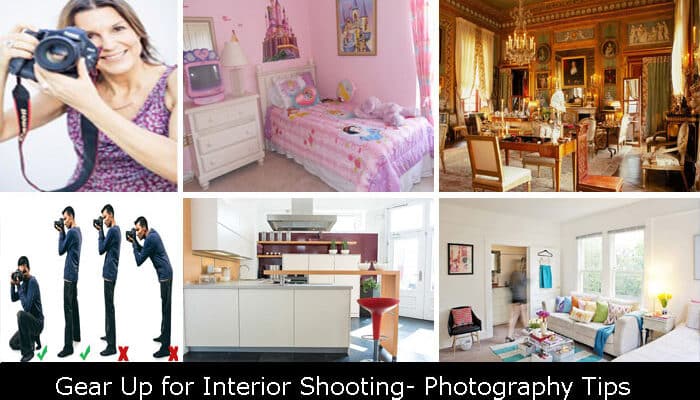
Position Yourself:
Yet another point to get flawless shooting is to lay against a rock-hard surface and then take pictures. Don’t just blindly take the pictures and try capturing the entire frame in one go. Shooting interiors is difficult, so one bonus tip is to stand in the corner. Your focus is not on covering the whole area but on spotlessly covering the well-constructed areas.
Don’t overlook the orientation part of the interiors you are shooting. Show different objects like furniture, walls, stairs, etc., to let people know everything from only a single image. Interior photography is something unbelievable, and so are its results. Go simple, go elegant!!

Editing Stage
Color Balance:
Balancing the colors in interior photography is the key to success. Post-shoot editing requires you to balance the colors to display the breathtaking side of your shoot. Interior photography is at its best with a minimalist style and much better with a cool color setting.
Brightness and Darkness:
Do you notice some dark patches or shadows in the pictures? Well, this probability is much higher in interior photography. At first, the light setting was perfect, but now it’s not. Not to fret!! You can easily spruce up the images by playing around with brightness and darkness settings in Photoshop or any other tool.

So, guys, this is how you can enhance your interior photography. Keep going!!