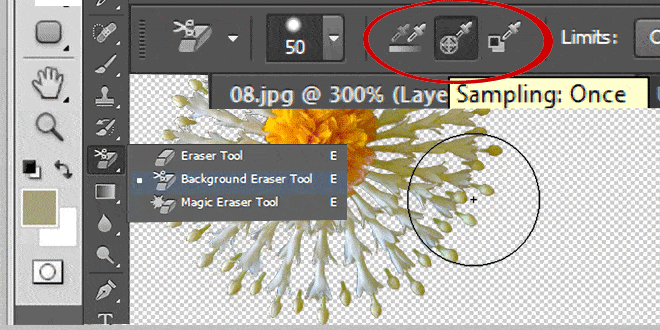
The background eraser tool is quite a helpful tool in Photoshop. Which is used widely to retouch pictures to make them look good. To remove the unwanted areas of the pictures, the photoshop background eraser tool works just fine. Images with intricate details or unwanted backgrounds are corrected and edited using the background eraser tool. Then, this tool, there are many other tools like the ‘Eraser tool’, ‘Magic Eraser tool’, and ‘Pen tool’, etc. which are used to cut out the object from its respective background.
Image masking is also an ideal method for image background removal which works on complex backgrounds or edges. The images having furry edges or hairy backgrounds are better dealt with masking method. The importance of the eraser tool is not unknown and everyone in the photography or graphic industry is using this tool on a wider note. This tool helps in cutting out the backgrounds and the new backdrop is added according to the image requirement. By using this tool, you can erase the areas that are not required whilst leaving the other important areas untouched.
Here are the steps to follow while using the background eraser tool. Let’s see:
1. Pick The Eraser tool
Open Photoshop and select the image you want to remove from the background. Open the image, and you will see it in the display window. Go to the Background Eraser Tool panel palette and pick the background eraser tool. When you pick the tool, the mouse cursor will change to a circle with a cross-hair in the center.
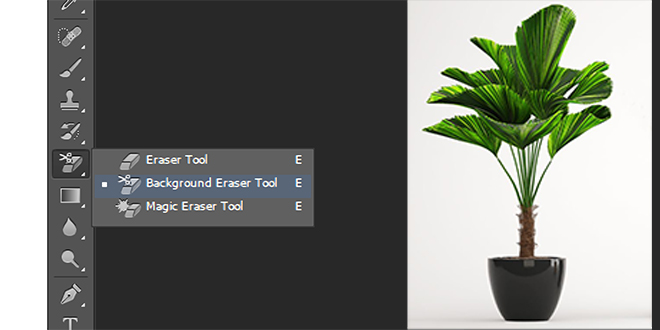
Selecting The Background Eraser Tool
You can adjust the size of the Background Eraser tool based on the areas you want to delete.. For that, press “[ “and “] ‘keys on the keyboard respectively. Next, press “shift + [” for softer edges, and for harder edges, press “shift + ]”. We suggest going for harder edges for better results.
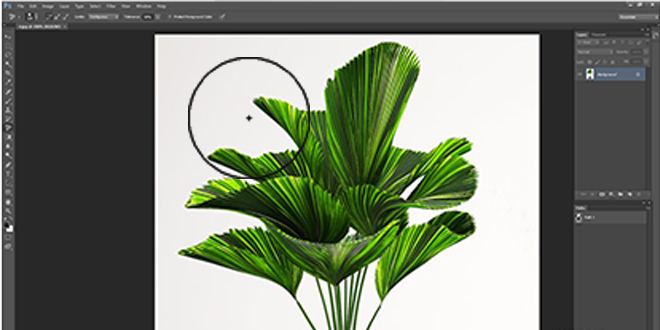
Set Up the Background Eraser Tool in Adobe Photoshop Video Tutorial Bellow
2. How to Work the Photoshop Background Eraser tool
You might have noticed that when you open an image in Photoshop, it creates a layer that is locked and generally sits in the background. To start working or editing it, you have to unlock the layer first.
Coming to the procedure, select the Background eraser tool and drag it over the areas you want to remove. Wherever you drag the eraser tool, it will remove those areas by sampling the color beneath the target symbol.
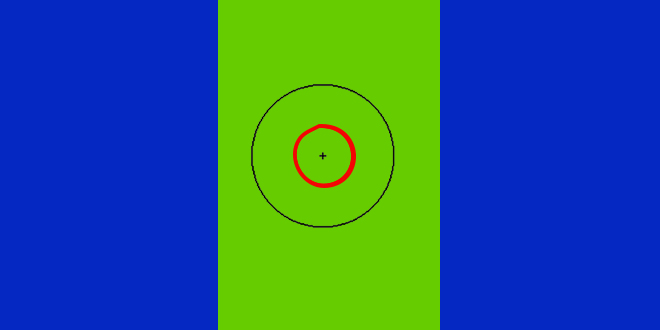
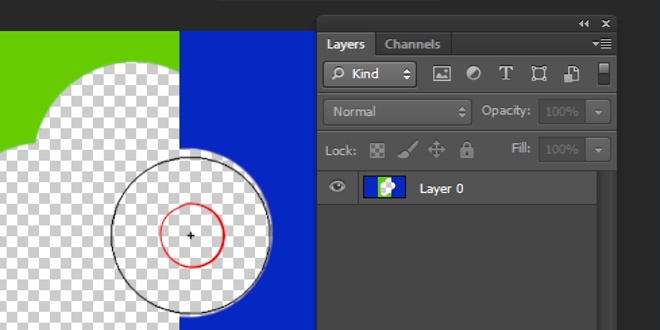
The circle around the Target Background Eraser tool shows where pixels will be erased. Any pixels that match the color under the target symbol are removed by the Photoshop background eraser tool.

When you start bg removing the areas, it can change that any other area you don’t want to remove gets erase. If it happens, press Ctrl + Z to undo, and if there is more undo, press Ctrl+Alt+Z to go back to the step where you made the mistake. Now, start erasing once again using the same method.
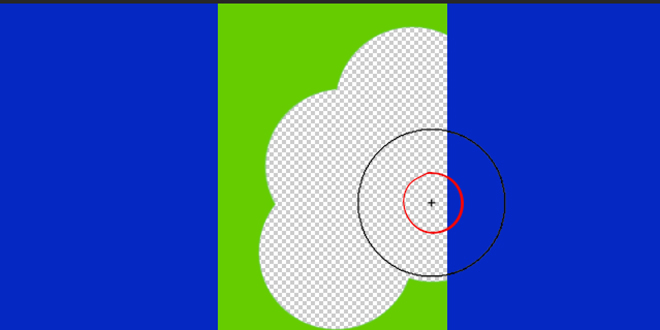
Background Layer
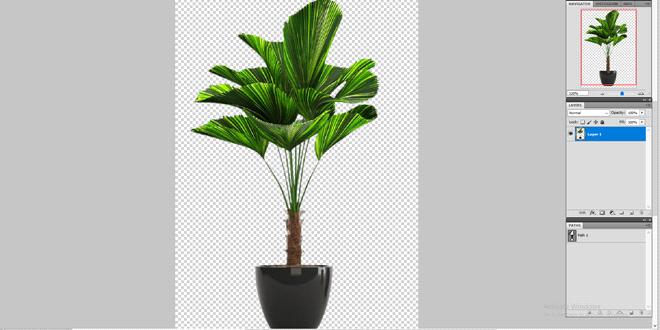
Working on the background is not possible because it is “locked” by default. While dragging the Background eraser tool on the image, you will see that there is no difference. It means that the layer is locked and is the background layer. Photoshop sometimes automatically transforms the background layer by unlocking it and naming it layer 0. Since erasing pixels on the background layer is impossible because of being locked, you have to unlock it if Photoshop doesn’t do it for you.

How to Work the Background Eraser Tool Video Tutorial Bellow
3. Example of Background Eraser Tool Action in Adobe Photoshop
Now, let us move forward to erasing the background with an example. As you can see, this picture has a blue sky, which you want to remove. Drag the eraser tool over the sky and removing it is the simplest thing you will do, but if you see there are trees around, accidentally, you will remove the trees as well because they are in the same layer. Now, to deal with that, you have to be careful with the target symbol and keep it on the blue area, i.e., the sky, in order to prevent removing the trees.

The background eraser tool samples the color underneath the target symbol which is at the center of the eraser. When you drag the eraser, be careful about where the target symbol is.
To work properly with the Photoshop eraser tool, here are a few settings that will do wonders and make the process perfect to deliver great results. Navigate to the Options bar and choose:
Sampling Options of Background Eraser Tool
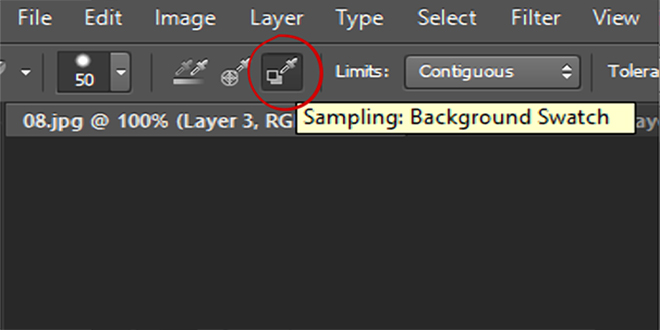
You will see three options i.e. Continuous, Once, and Background Swatch to the right of the brush preset picker. It will help control the behavior of the eraser. The default option is the continuous one which samples the area where the symbol moves.
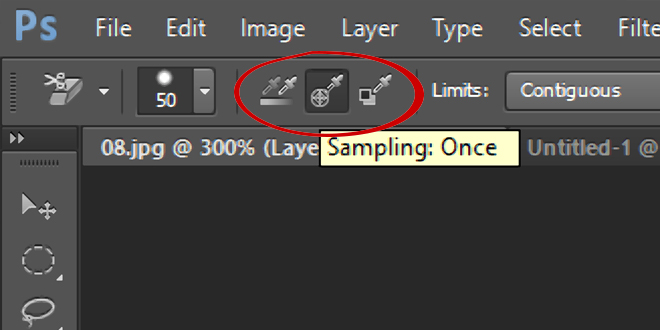
When you have too many colors to erase in a single image, the Continuous option is the best. It allows you to complete the process smoothly and lets you go with the flow. In order to remove the blue color or any other color, keep going and it will keep erasing the area without any hassle. But make sure the target symbol is over the same color you want to erase. If the target symbol shifts to another color, the tool will erase that color in that case.
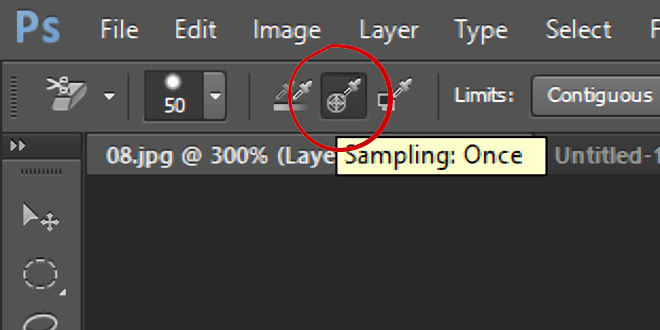
One option is for simple images in which there is only one color. Even if you move the target symbol somewhere else, it will not erase another color so you need not worry about erasing the required area accidentally. The moment you click on a color you want to erase, Photoshop will record it and help to erase it properly.
Background swatch is for those people who cannot position the target symbol properly. Choose any similar color you want to erase and Photoshop will do it accordingly.
Limits
Now coming to the limits, it has contiguous and discontinuous options. Both these options tell Photoshop about the pixels which need to be erased. The discontinuous option is helpful in erasing the pixels where there will be matching sampling color and the contiguous option removes the pixels which touch the target symbol.
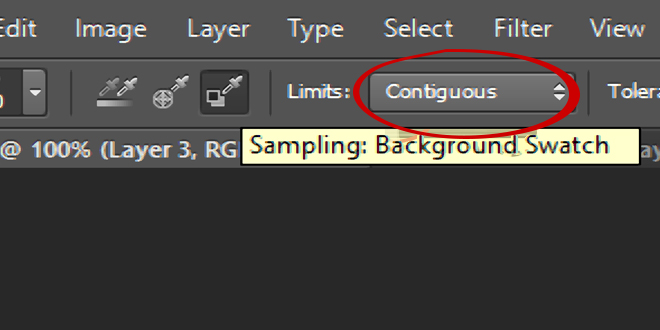
Do you have a complicated image? Removing a hidden area underneath another area might be challenging, right? In this case, using the Discontinuous option can help as it focuses on removing the matching color without affecting other areas. It is recommended to use the Once option in combination with the Discontinuous option for best results in such images.

When erasing, always zoom in to check the final view. Ensure that the areas you want to remove are done properly without any left-over spots. Even with the discontinuous setting, some areas may be missed. Zoom in to identify any remaining spots and adjust the Tolerance value to work on them.
Tolerance of Background Eraser tool
Work with a tolerance value to get clean and crisp results. Working with similar colors can be cumbersome because sampling one color might sample a similar color, and doing it all over again makes things tough. When you get to work with similar colors, a lower tolerance setting will be suggested. Change the value from the dropdown menu located right next to the Tolerance menu.
Set the tolerance level according to the different color tones. If the image you are working on has different colors, then the tolerance level must be set to a higher value and vice versa.

Example of Background Eraser Tool Action in Adobe Photoshop Video Tutorial Bellow
3. Select Protect Foreground Color to remove Image Complex background
To get things to the next level, you should consider protecting foreground color if you find it problematic to work otherwise. With Protect foreground color, you will achieve desired results. I bet you. Select the option if you want professional results.
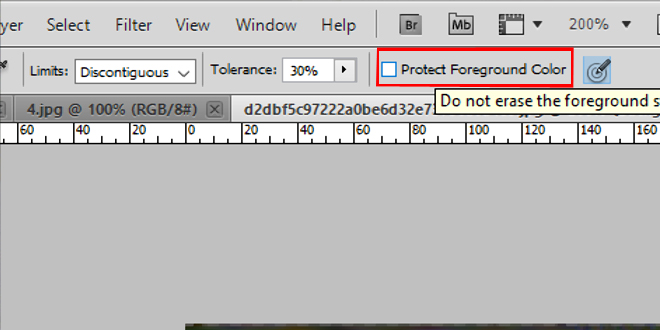
For image background removal, the background eraser tool works completely fine. It is definitely a flawless tool that will let you save the color of the areas you don’t want to touch while removing other areas of the background.
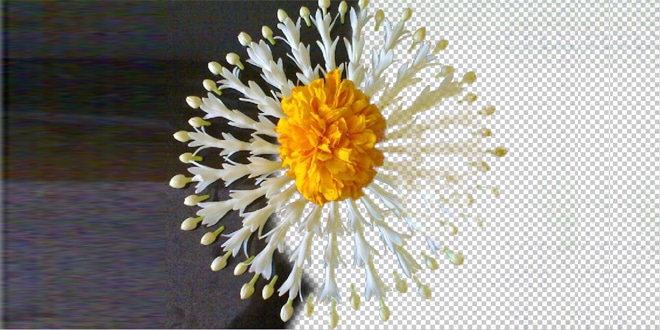
Remove without selecting Foreground Color
Click on Protect foreground color in the Options bar and press the Alt key. You will see an “eyedropper tool” to select the color to be protected.
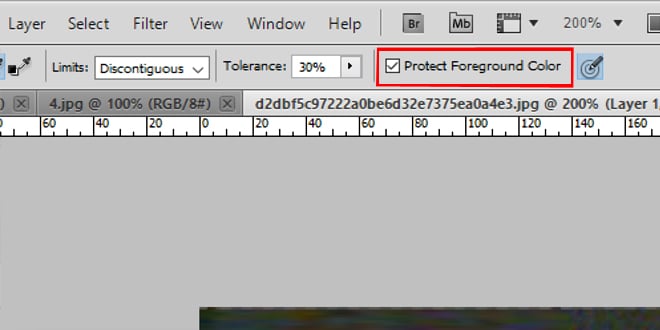
Click on Protect foreground color in Options.
As you do that, you will see that the foreground color will be changed to the sampled color in the tools palette. Now go ahead to get better results.

Pick the Protect foreground color.
Select the Protect foreground color option when you are complete with everything.
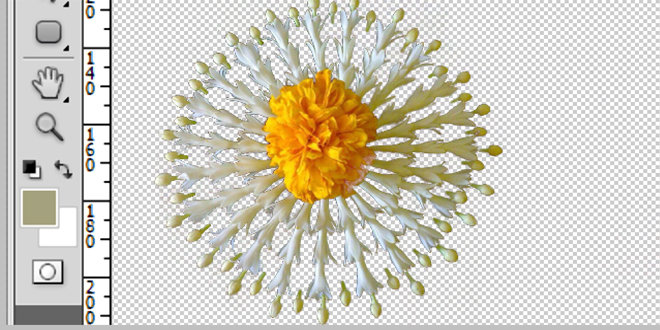
Voila, that’s it! You did it right. Background removal is a challenging task because it needs precision and skills. With the help of the right tools, you can achieve great results. Read the article carefully to get exceptional results.
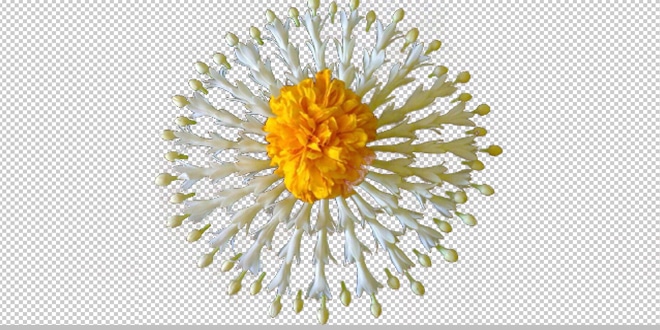
Background Removal using the Eraser tool In Photoshop
Once when you excel in the background removal technique, you can work on any image whether it is simple, medium, or complex. After working with the background eraser tool, there is nothing hard in using other methods like pen tool and image masking. Since all the background removal methods need expertise and skills, you can do it easily once you master the art of image background removal. Stay tuned for more informative articles. Happy editing!

