
Using shadows for the product images is a trend to make the images look outstanding and breathtaking. In order to raise the level of the images, it is important to Make shadows and make them web-worthy. Also, Making shadows to the product images enhance the overall shopping experience of the buyers as well as uplift the website’s design. Since the shadows give a natural and realistic feel to the images, it is suggested to add them in various styles.
Type of Adding Shadows
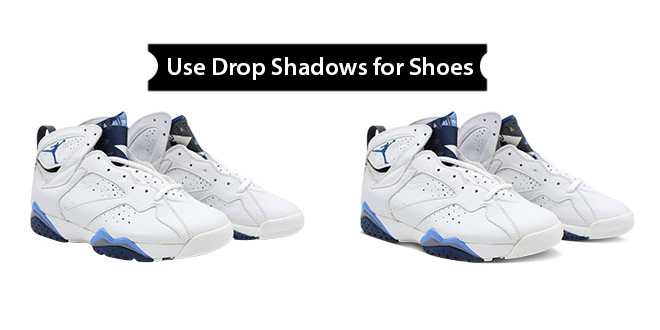
1. Natural Shadow / Drop shadow
2. Reflection shadow / Mirror Effect
Isn’t it great that just by adding shadows, you can see your sales growing than before? So let us go ahead and start Making shadows using Photoshop according to your requirements. So, today we will add shadow to shoes, check out the steps:
Natural Shadow Or Drop shadow

Firstly, this is the most commonly used shadow which gives a realistic feel to the images. Also, it is easy to apply and lends a subtle effect to the picture. One light source is enough to add natural shadow or drop shadows to the images. Here are the steps:
- Open Photoshop with the image you want to add a shadow on and create a new layer with white background
- Move this layer to the bottom, beneath the image
- Select the white area around this shoe image and mask it out from its respective background
- Now refine the edges for a smooth transition
- Now is the time to create a curved layer mask. For that, select the areas under the shoe toe and behind the heel. Feather the curved mask
- Go to Image>Adjustments>Curves tool and darken the curves layer. It will simulate the shadowing under the shoe
- To get a better transition, refine the mask more
- Now brush out the areas of the shadow layer to get the right look
- Since shadow has to look translucent, it is important to brush certain areas more than others which will give a completely natural look
- Now reduce the opacity a little to modify the shoe layer mask. Doing this will make the shadow soft and look realistic
VOILA, you did it right! This is how you can Make natural shadow to a product and lend originality. Now let us move to another type of shadow-like reflection shadow.
Reflection shadow / Mirror Effect

Reflection shadow adds a dramatic effect to the image and makes it look as if the product has been laid down on some reflective surface like a mirror or glass. Here are the steps to add reflection shadow:
- Open Photoshop with the shoe image
- Create a new layer with a white background. Take it to the bottom of the shoe image
- Create a duplicate layer of the original layer and select the area. Refine the edges
- Rotate it at 180 degrees to turn one image right side up and another upside down
- Align both these layers i.e. original layer and duplicate layer in such a way that the upside-down layer looks like the reflection of another one
- Create a mask of the upside-down layer. Pick a gradient tool and work on it until you achieve the desired results
- It is recommended to keep close the opaque part near the shoe and the least opaque part away from the shoe
- Now brush around the base of the shoe to make adjustments accordingly and get a natural look
- Flatten the layers.
Use these shadow styles and add a mirror effect to your product images. Garner more sales when you use shadows for the images.
For Making shadow service visit: www.clippingpathking.com